Changing struts on a 2005 Toyota Corolla
Posted on Sun 12 July 2020 in dev-journal
This also applies to 2003, 2005, 2006, 2007, and 2008 models.
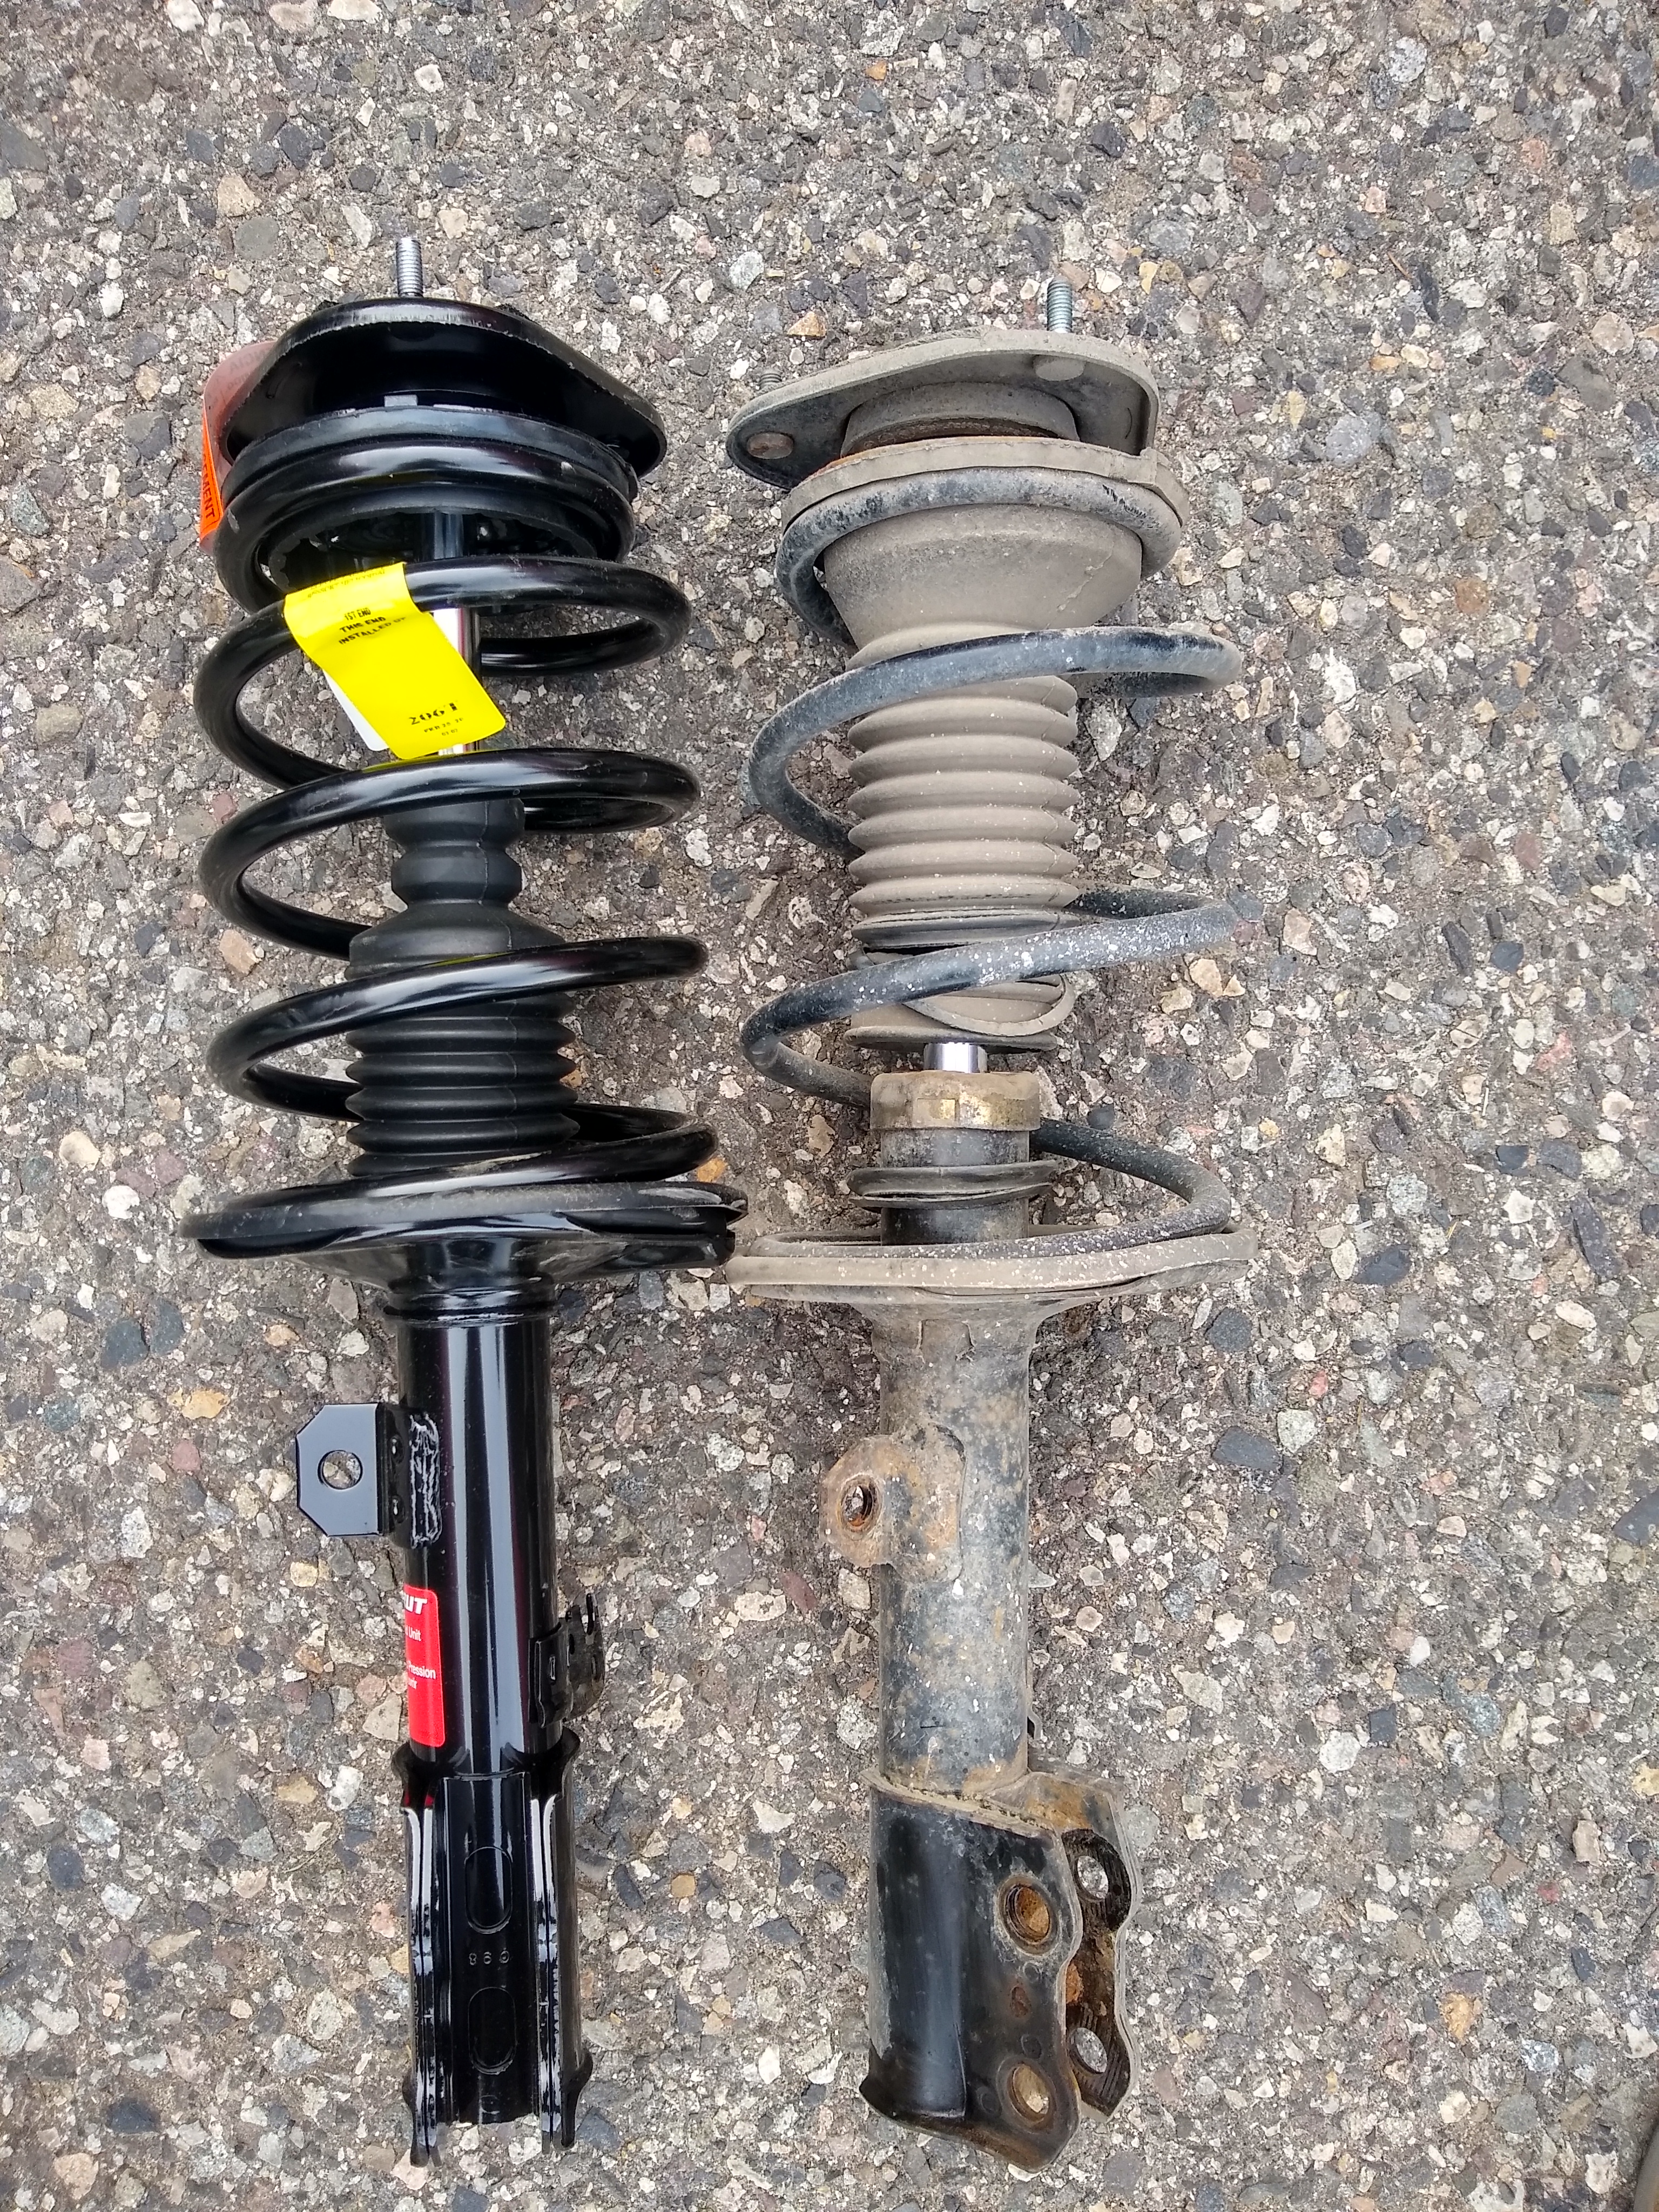
With 152k miles it was finally starting to feel time to replace the suspension
in The Rolla. Replacing the struts in a 2005 Corolla is a fairly easy task.
I was planning 4 hours just to replace the back struts. The entire job of doing
the front and the back took less than 3 hours.
Tools you will need:
- Jack
- Jack stands
- Sockets: 12 mm, 14 mm, 17 mm, 19 mm, (21 mm for lug nuts)
- Torque wrench
- Prybar or similar tool
- 6mm Allen key
- PB blaster (optional)
- Impact wrench (optional)
Here is the process:
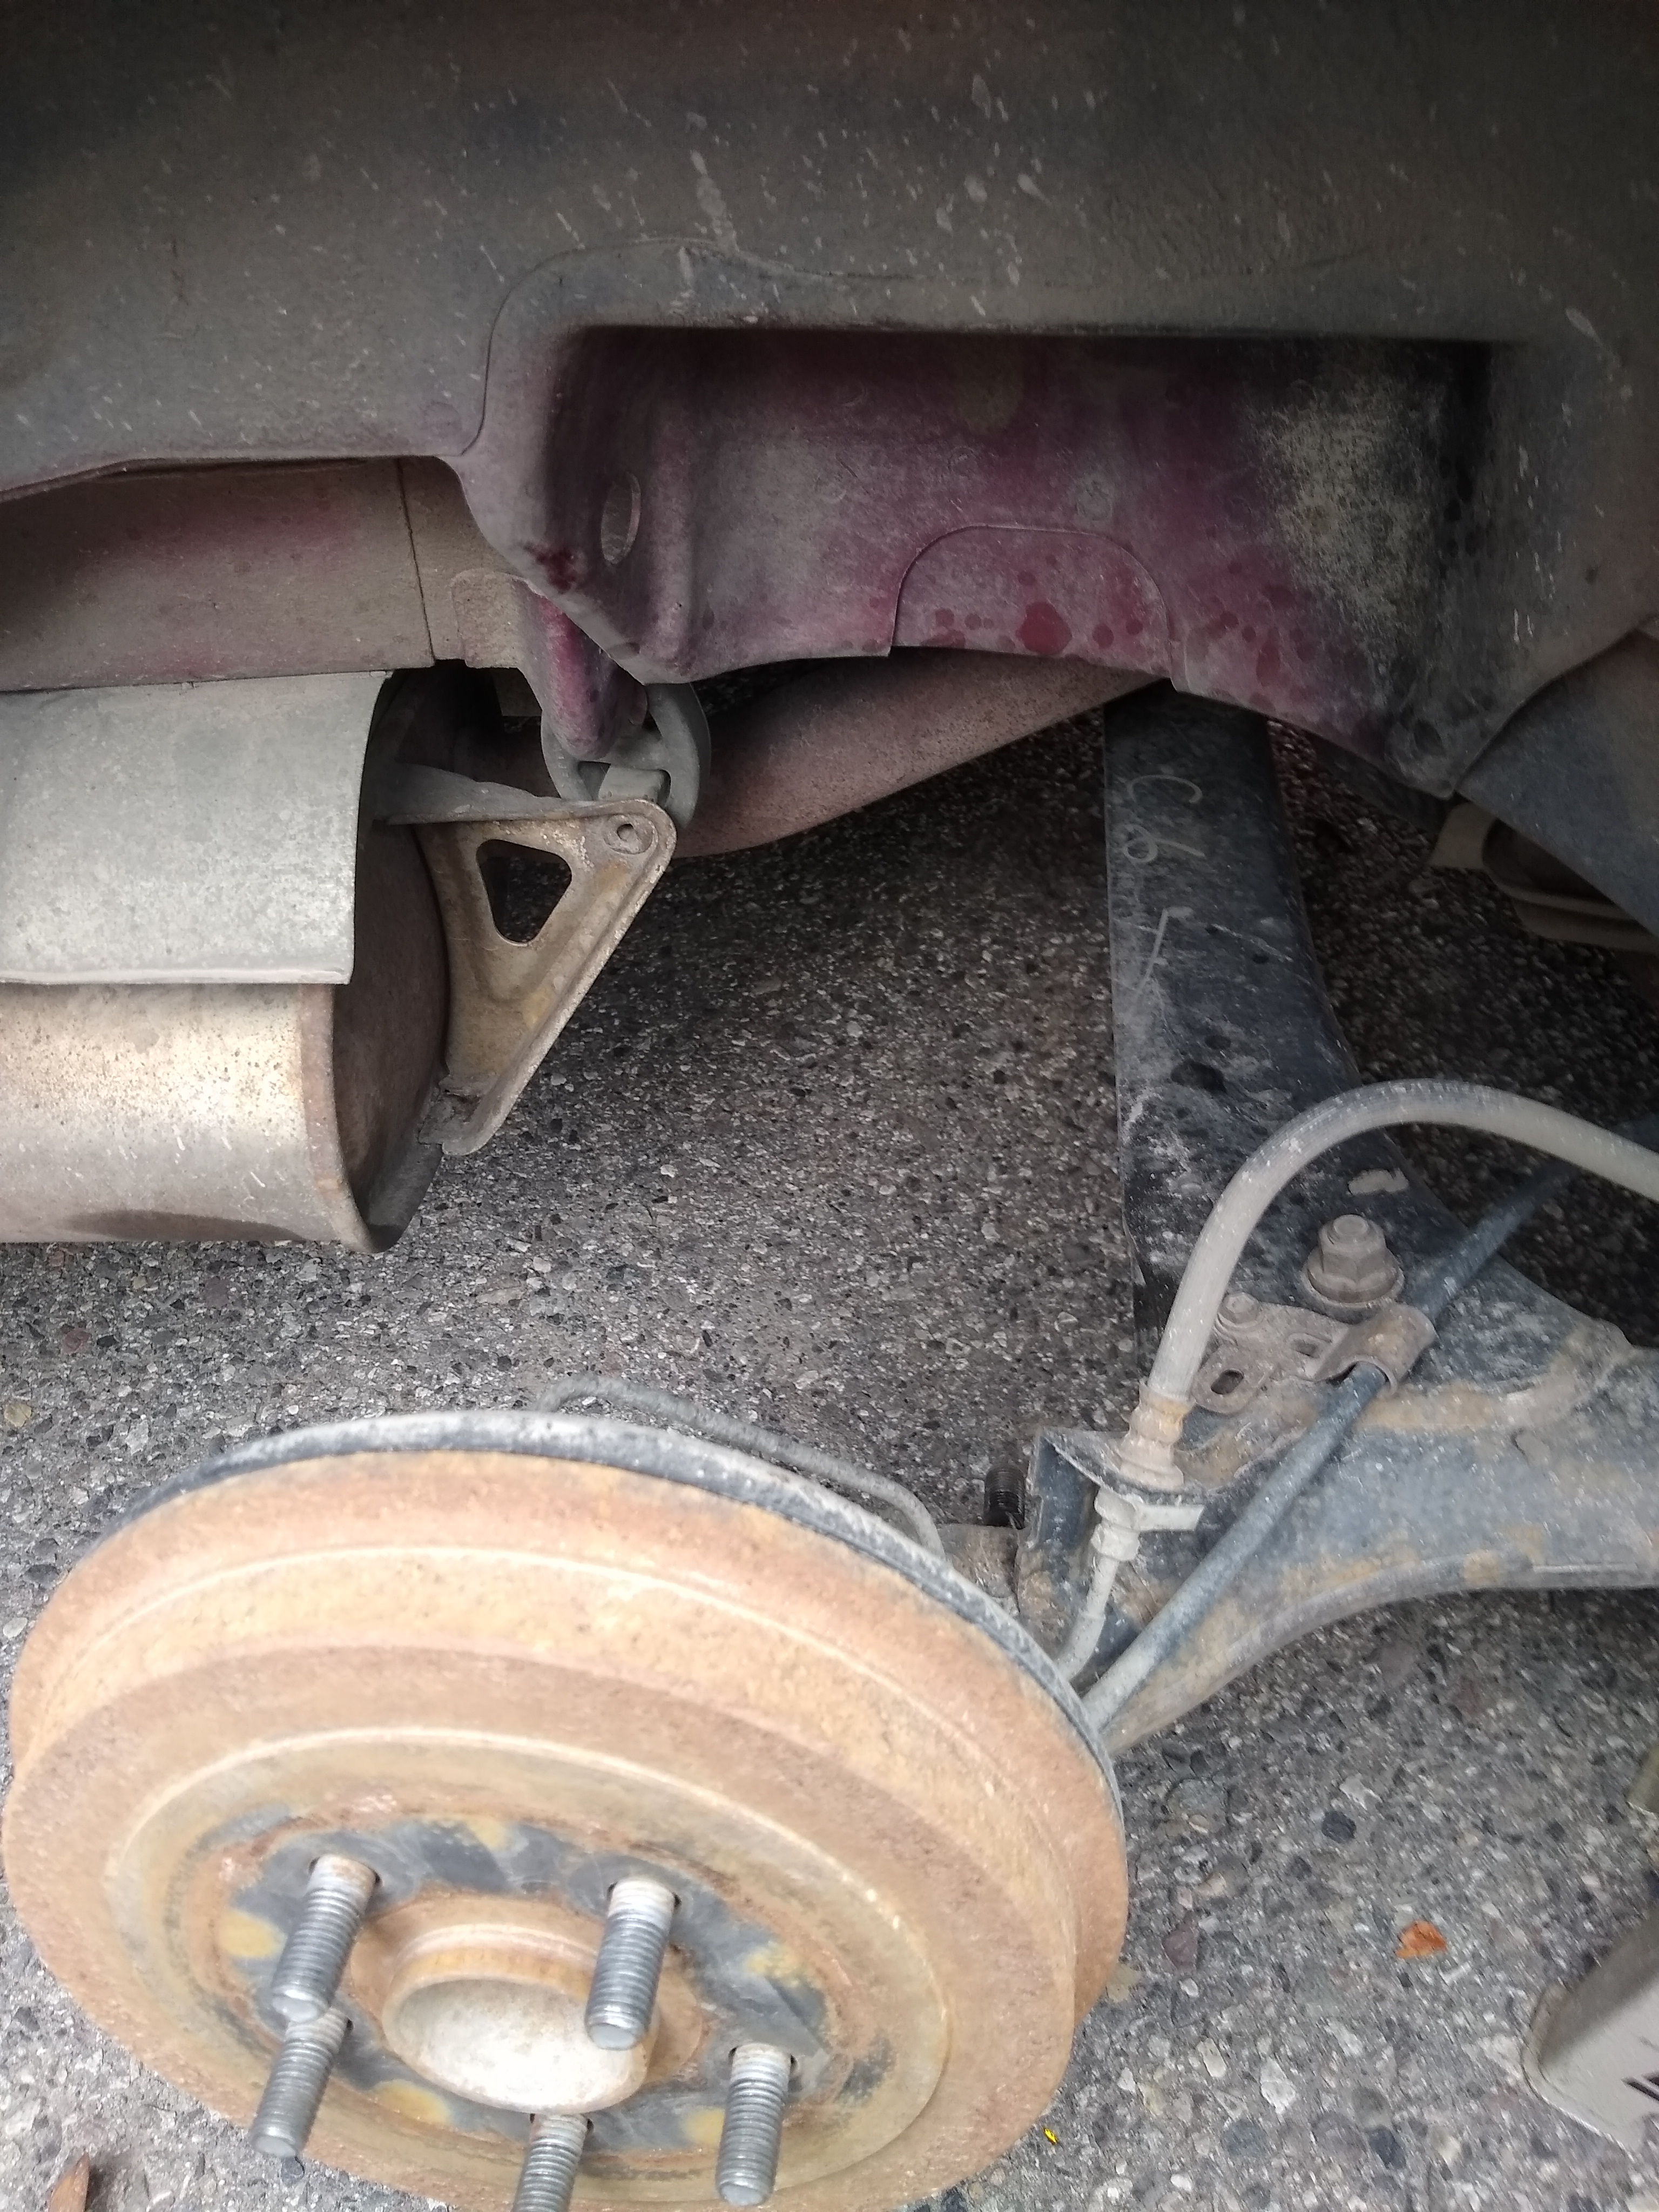
Place the car on a jackstand. Try to place the jackstand on the frame a little a few inches towards the front of the car from where it is placed in this photo. I had to move this later on so the axle would lower enough to put the new strut on.
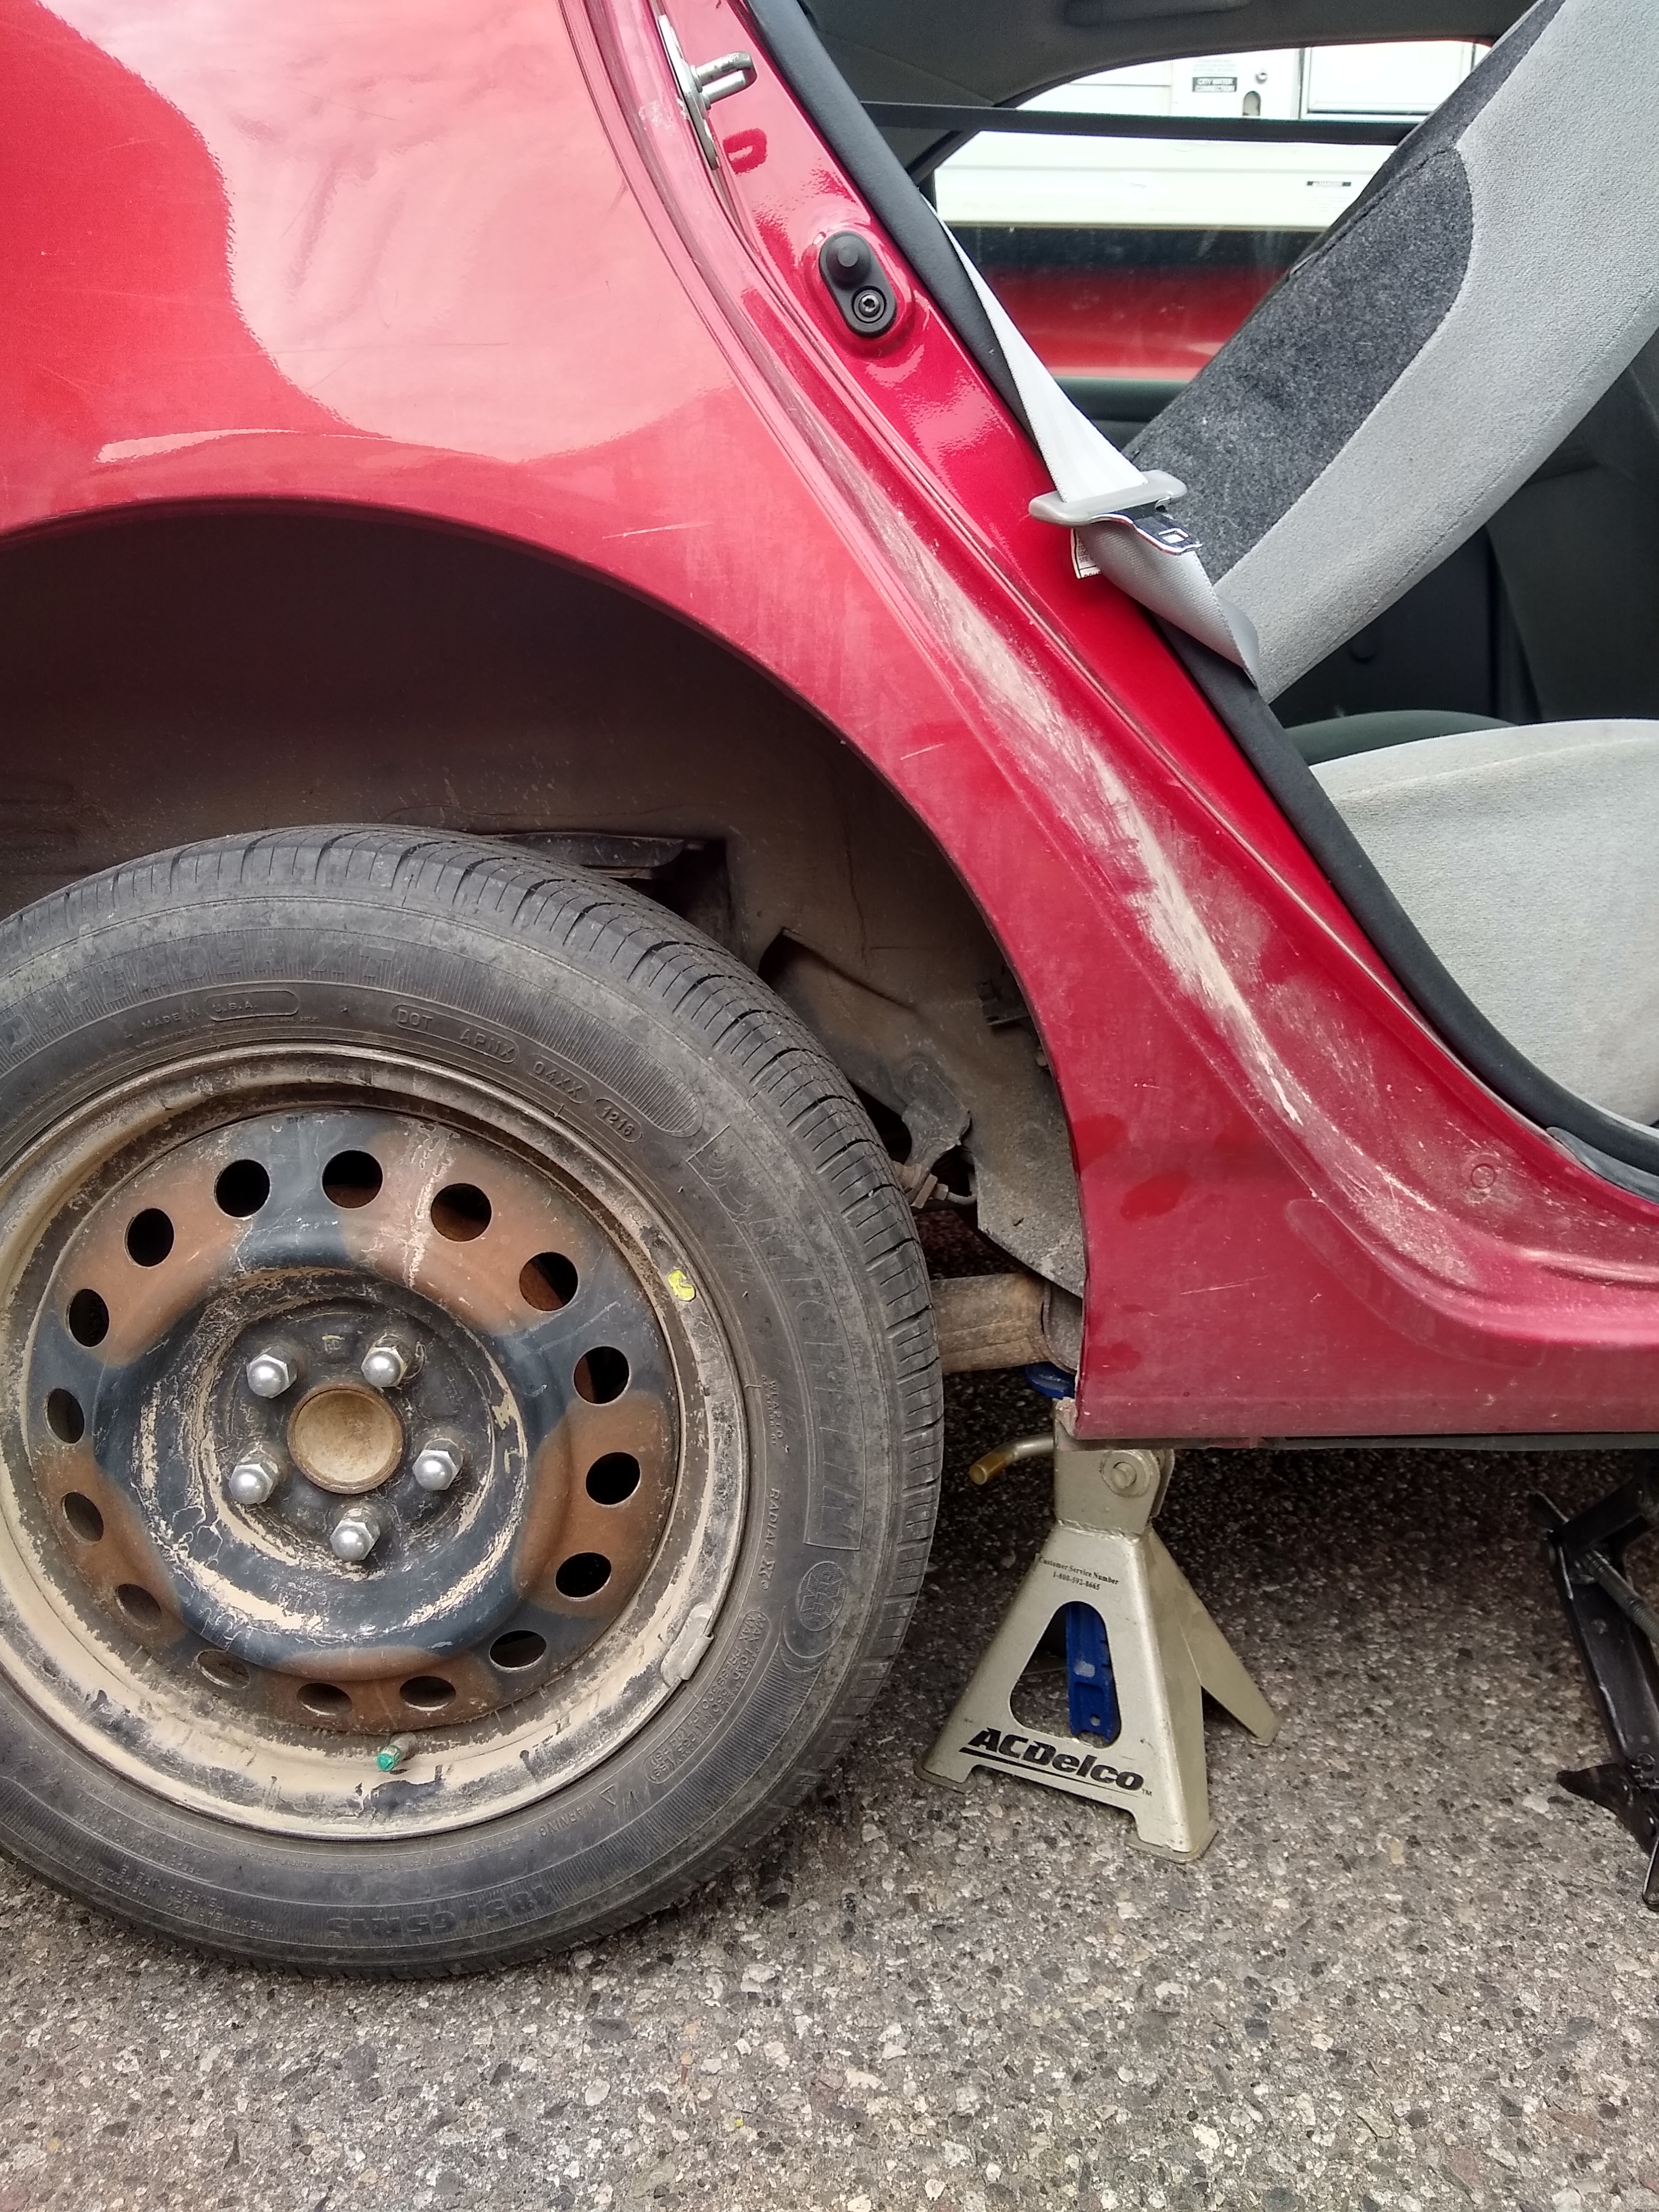
Remove the 19 mm nut holding the base of the strut to the axle
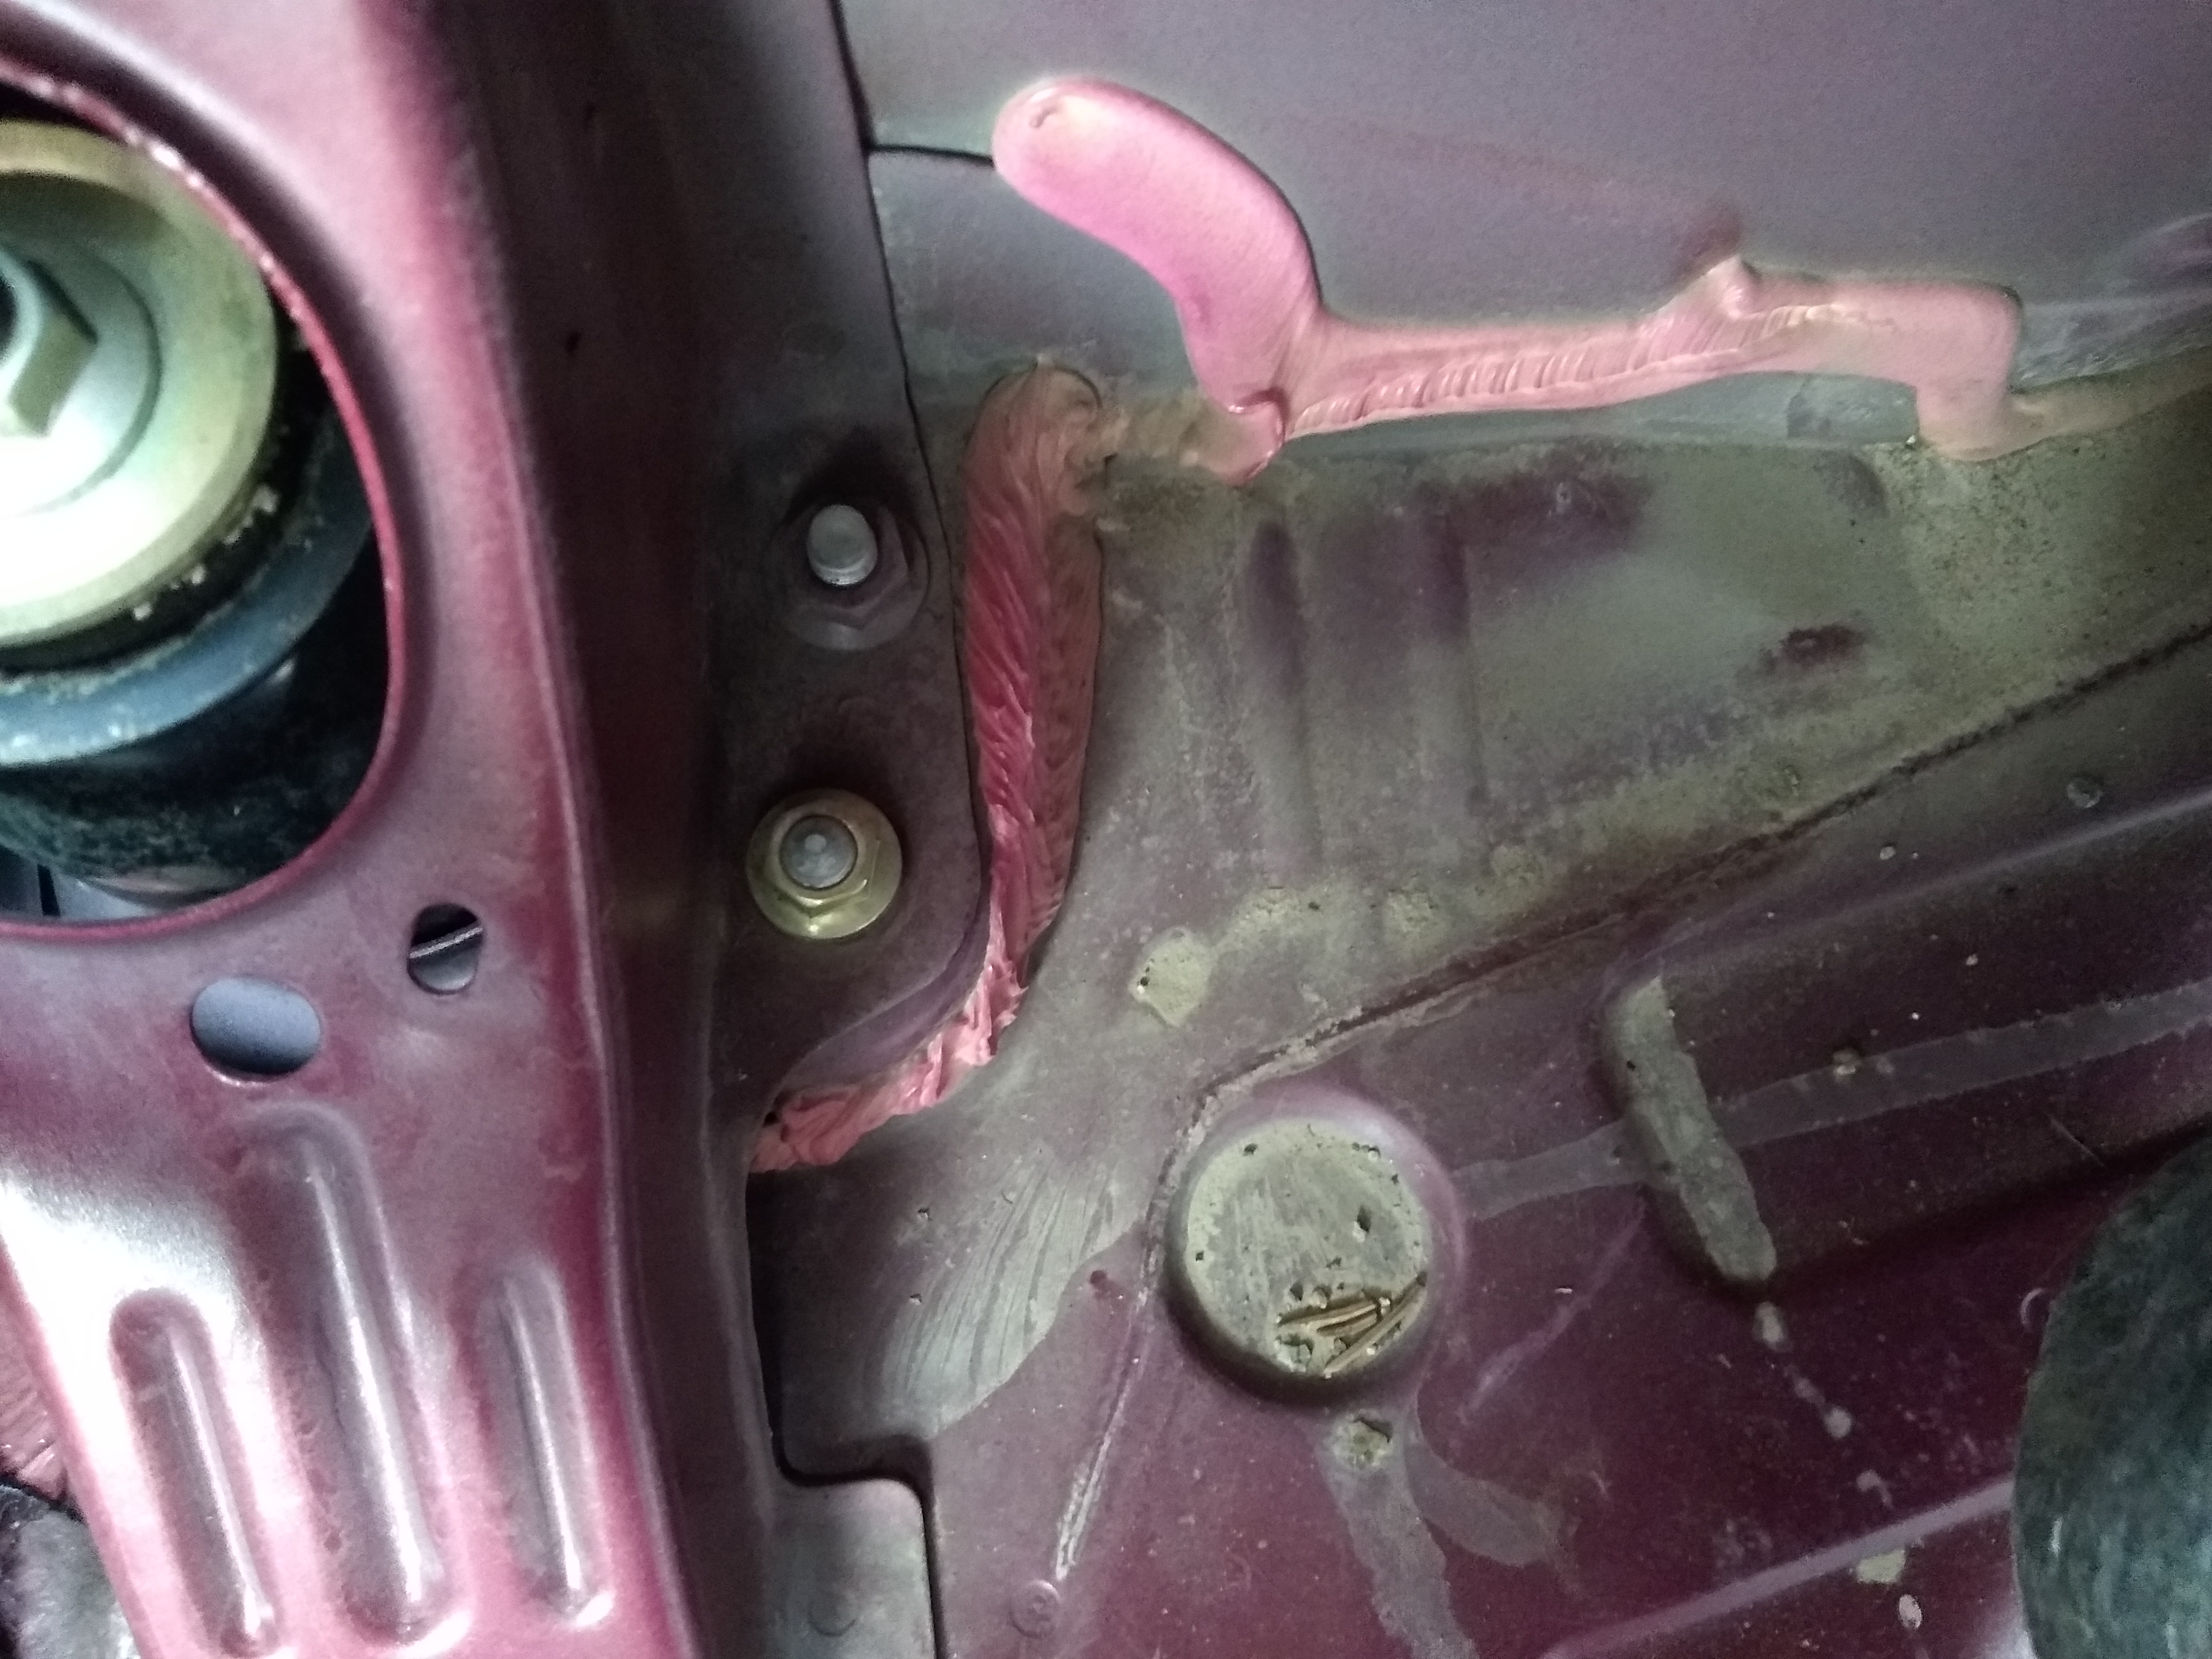
Lay down the back seat and remove the piece covering the strut.
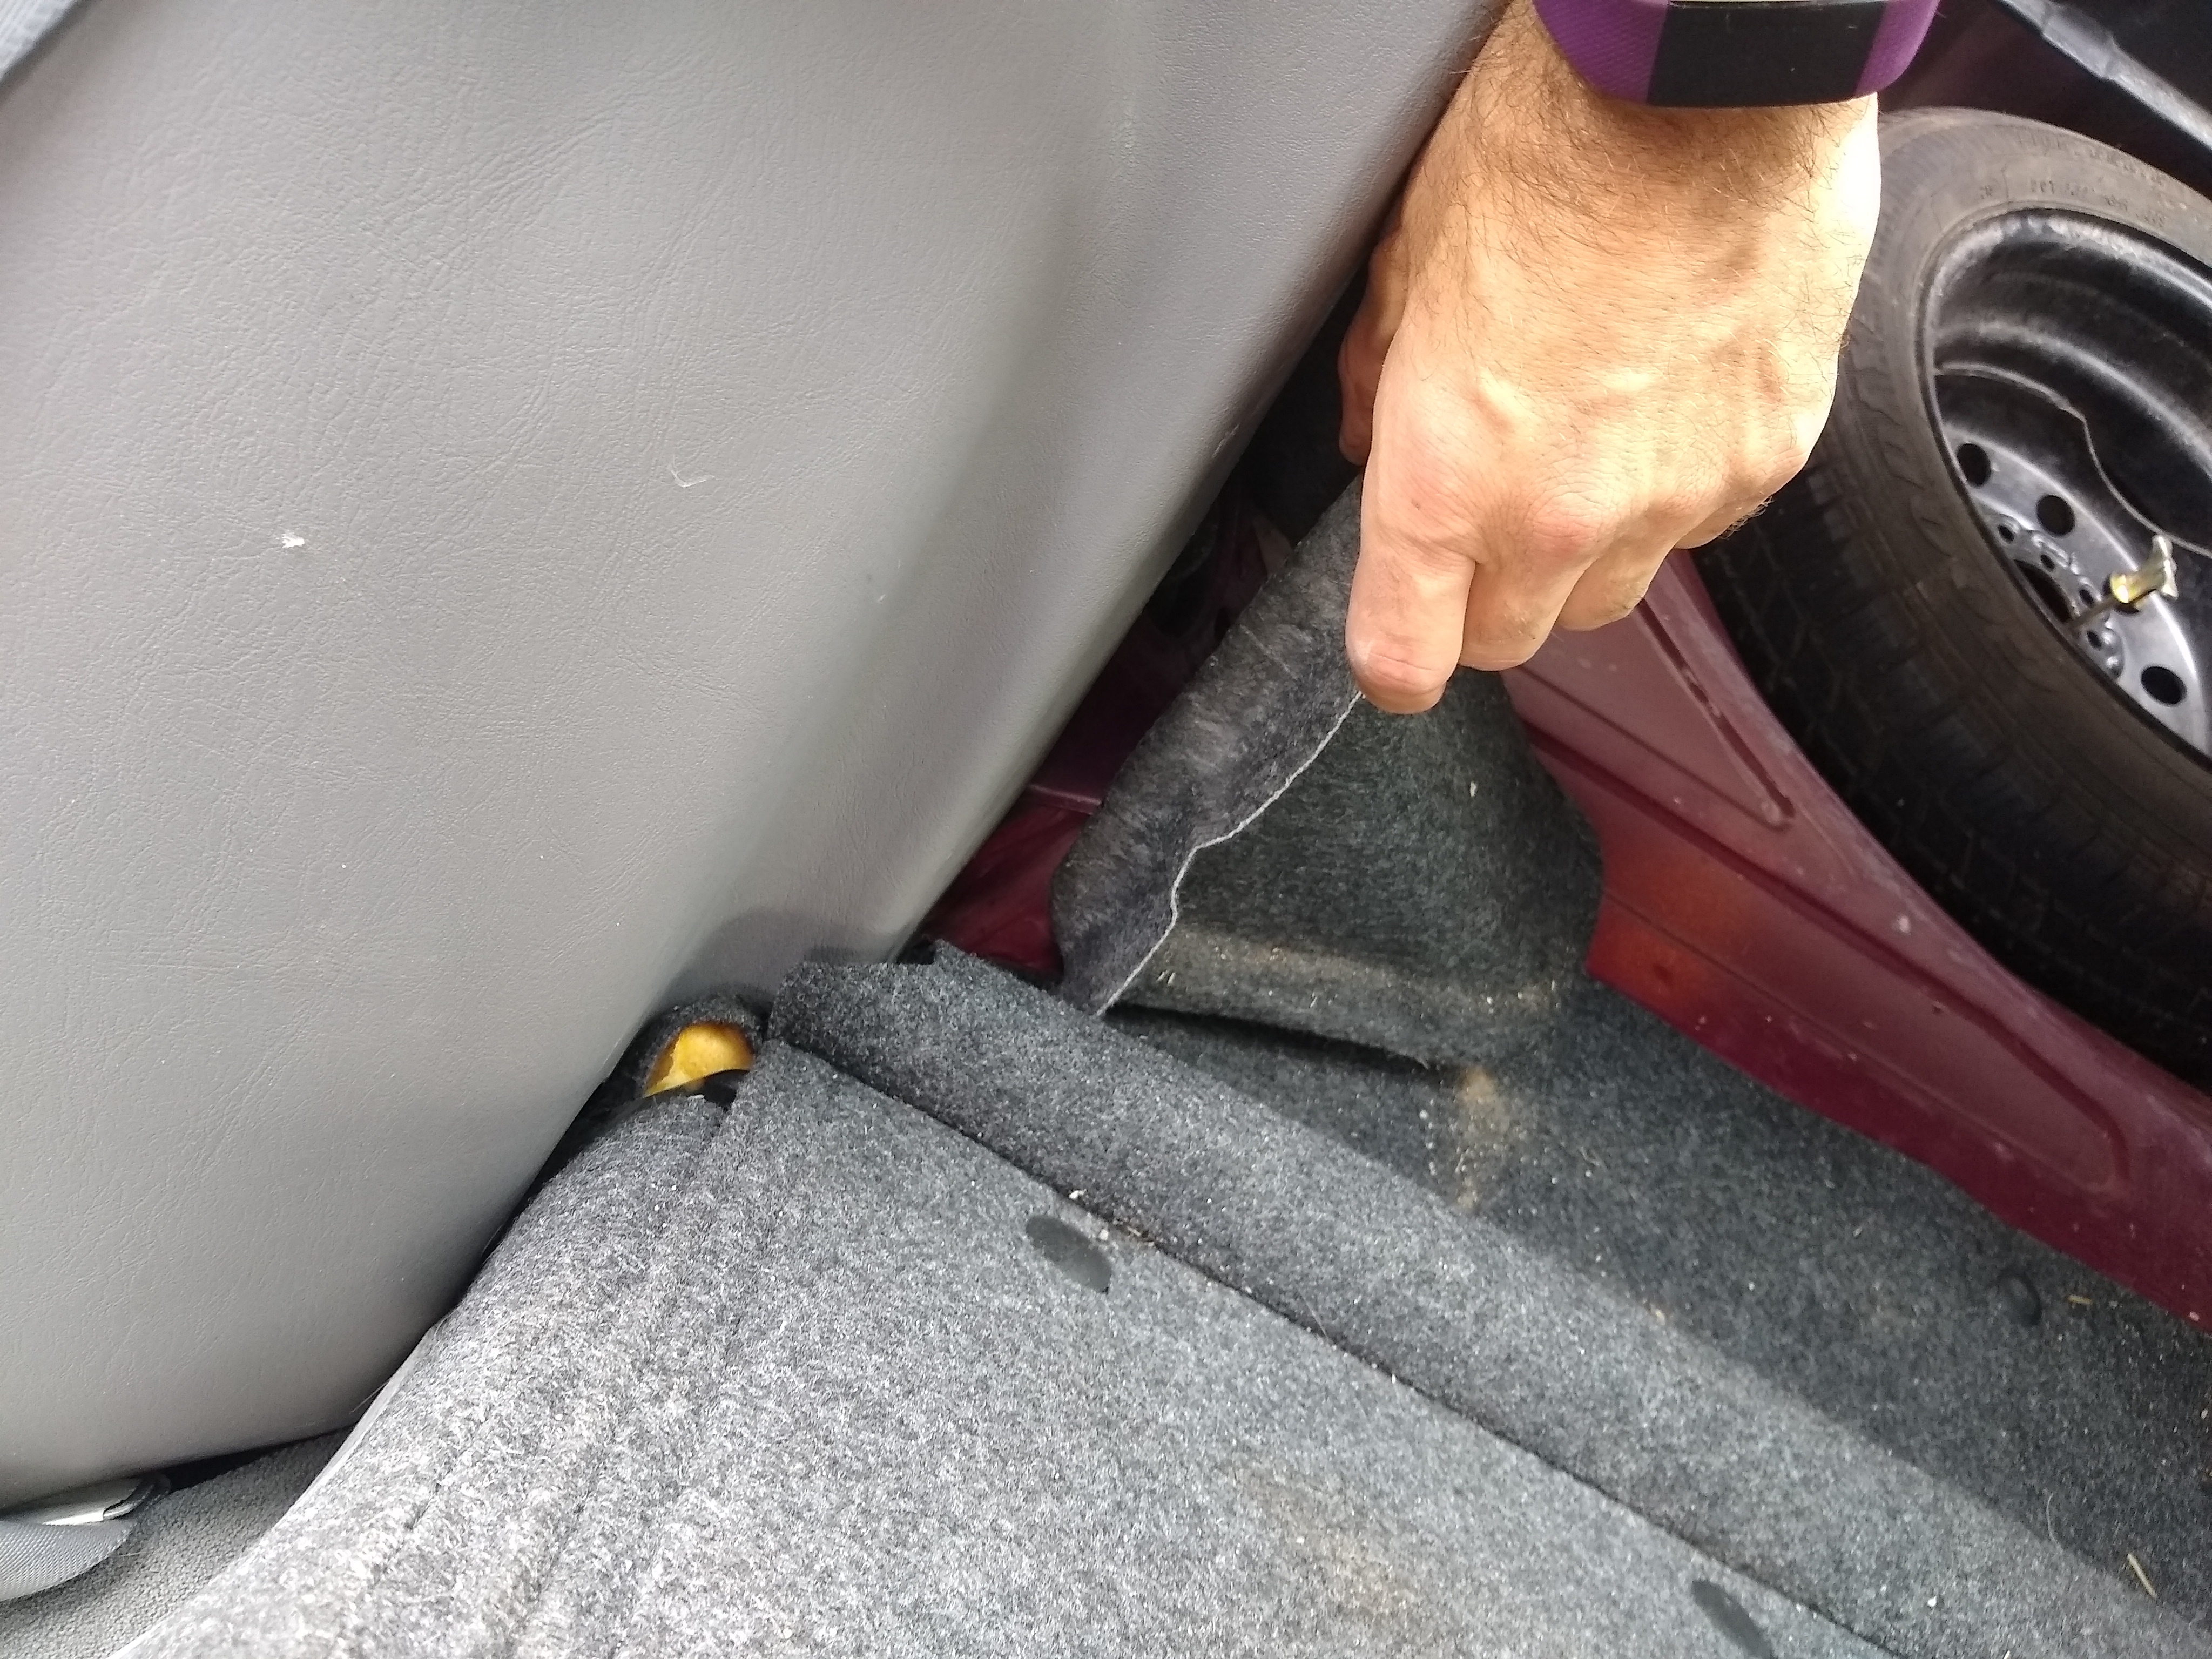
Will look like this
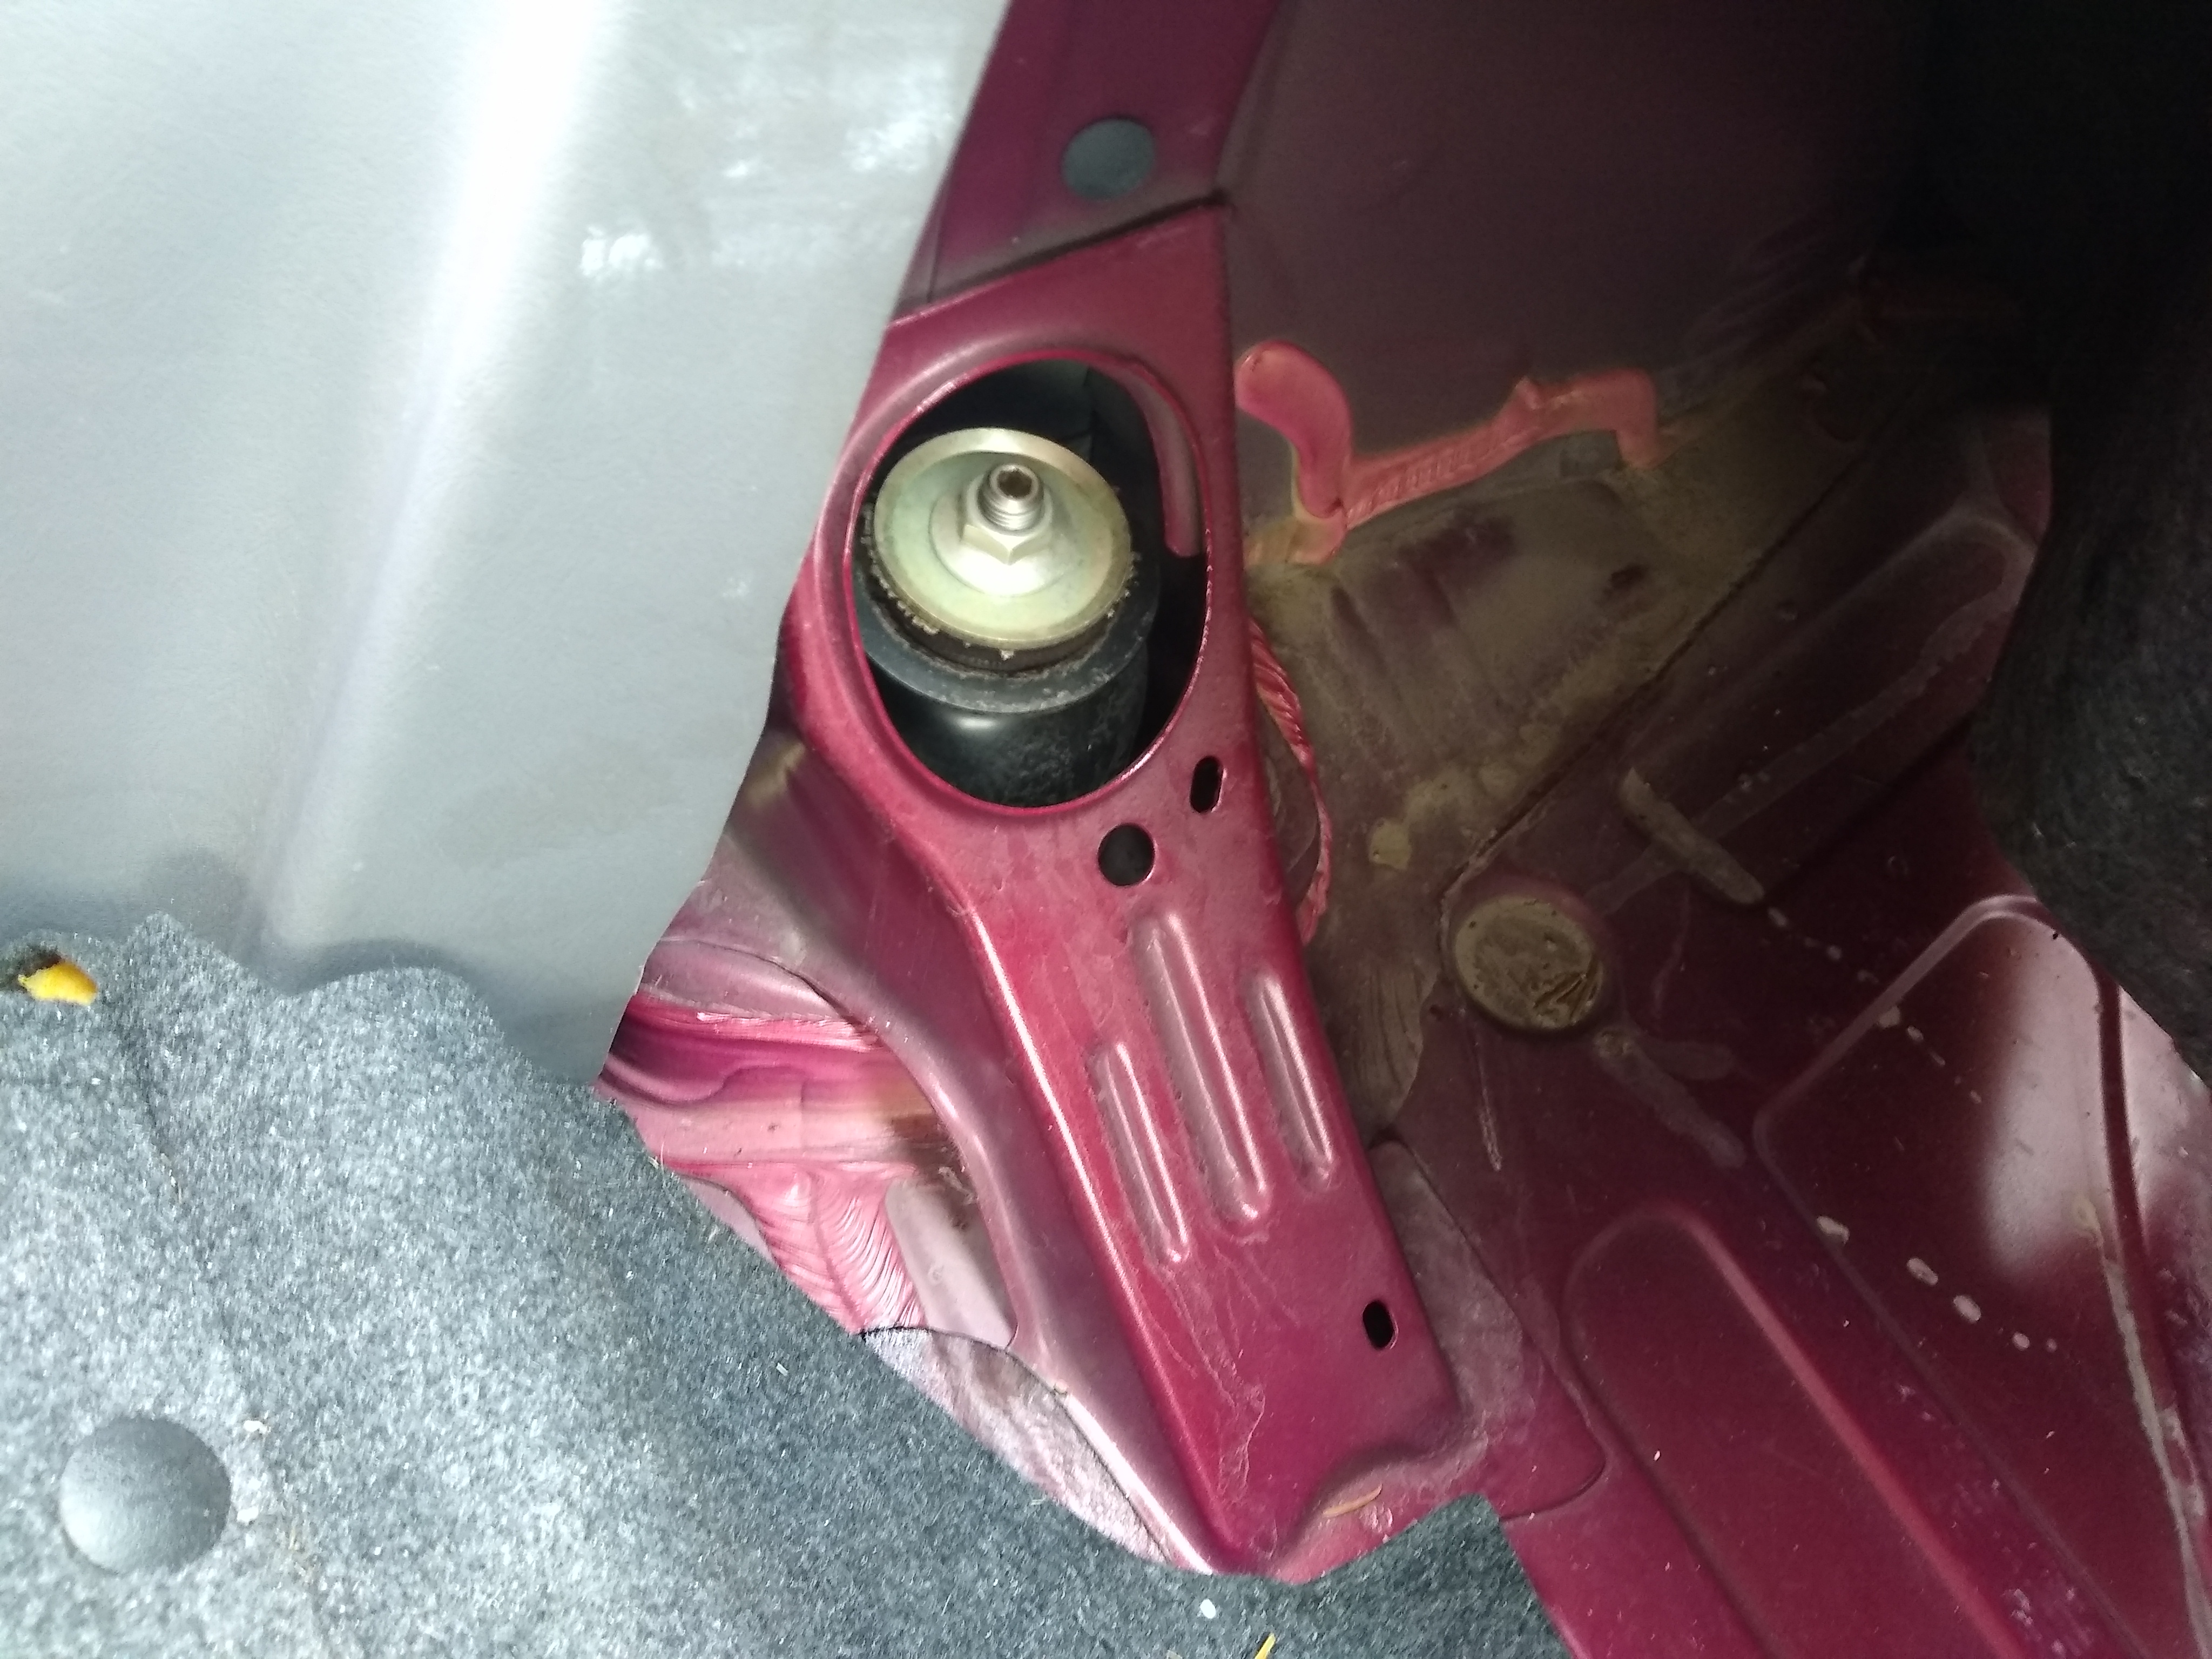
Remove the gold nuts
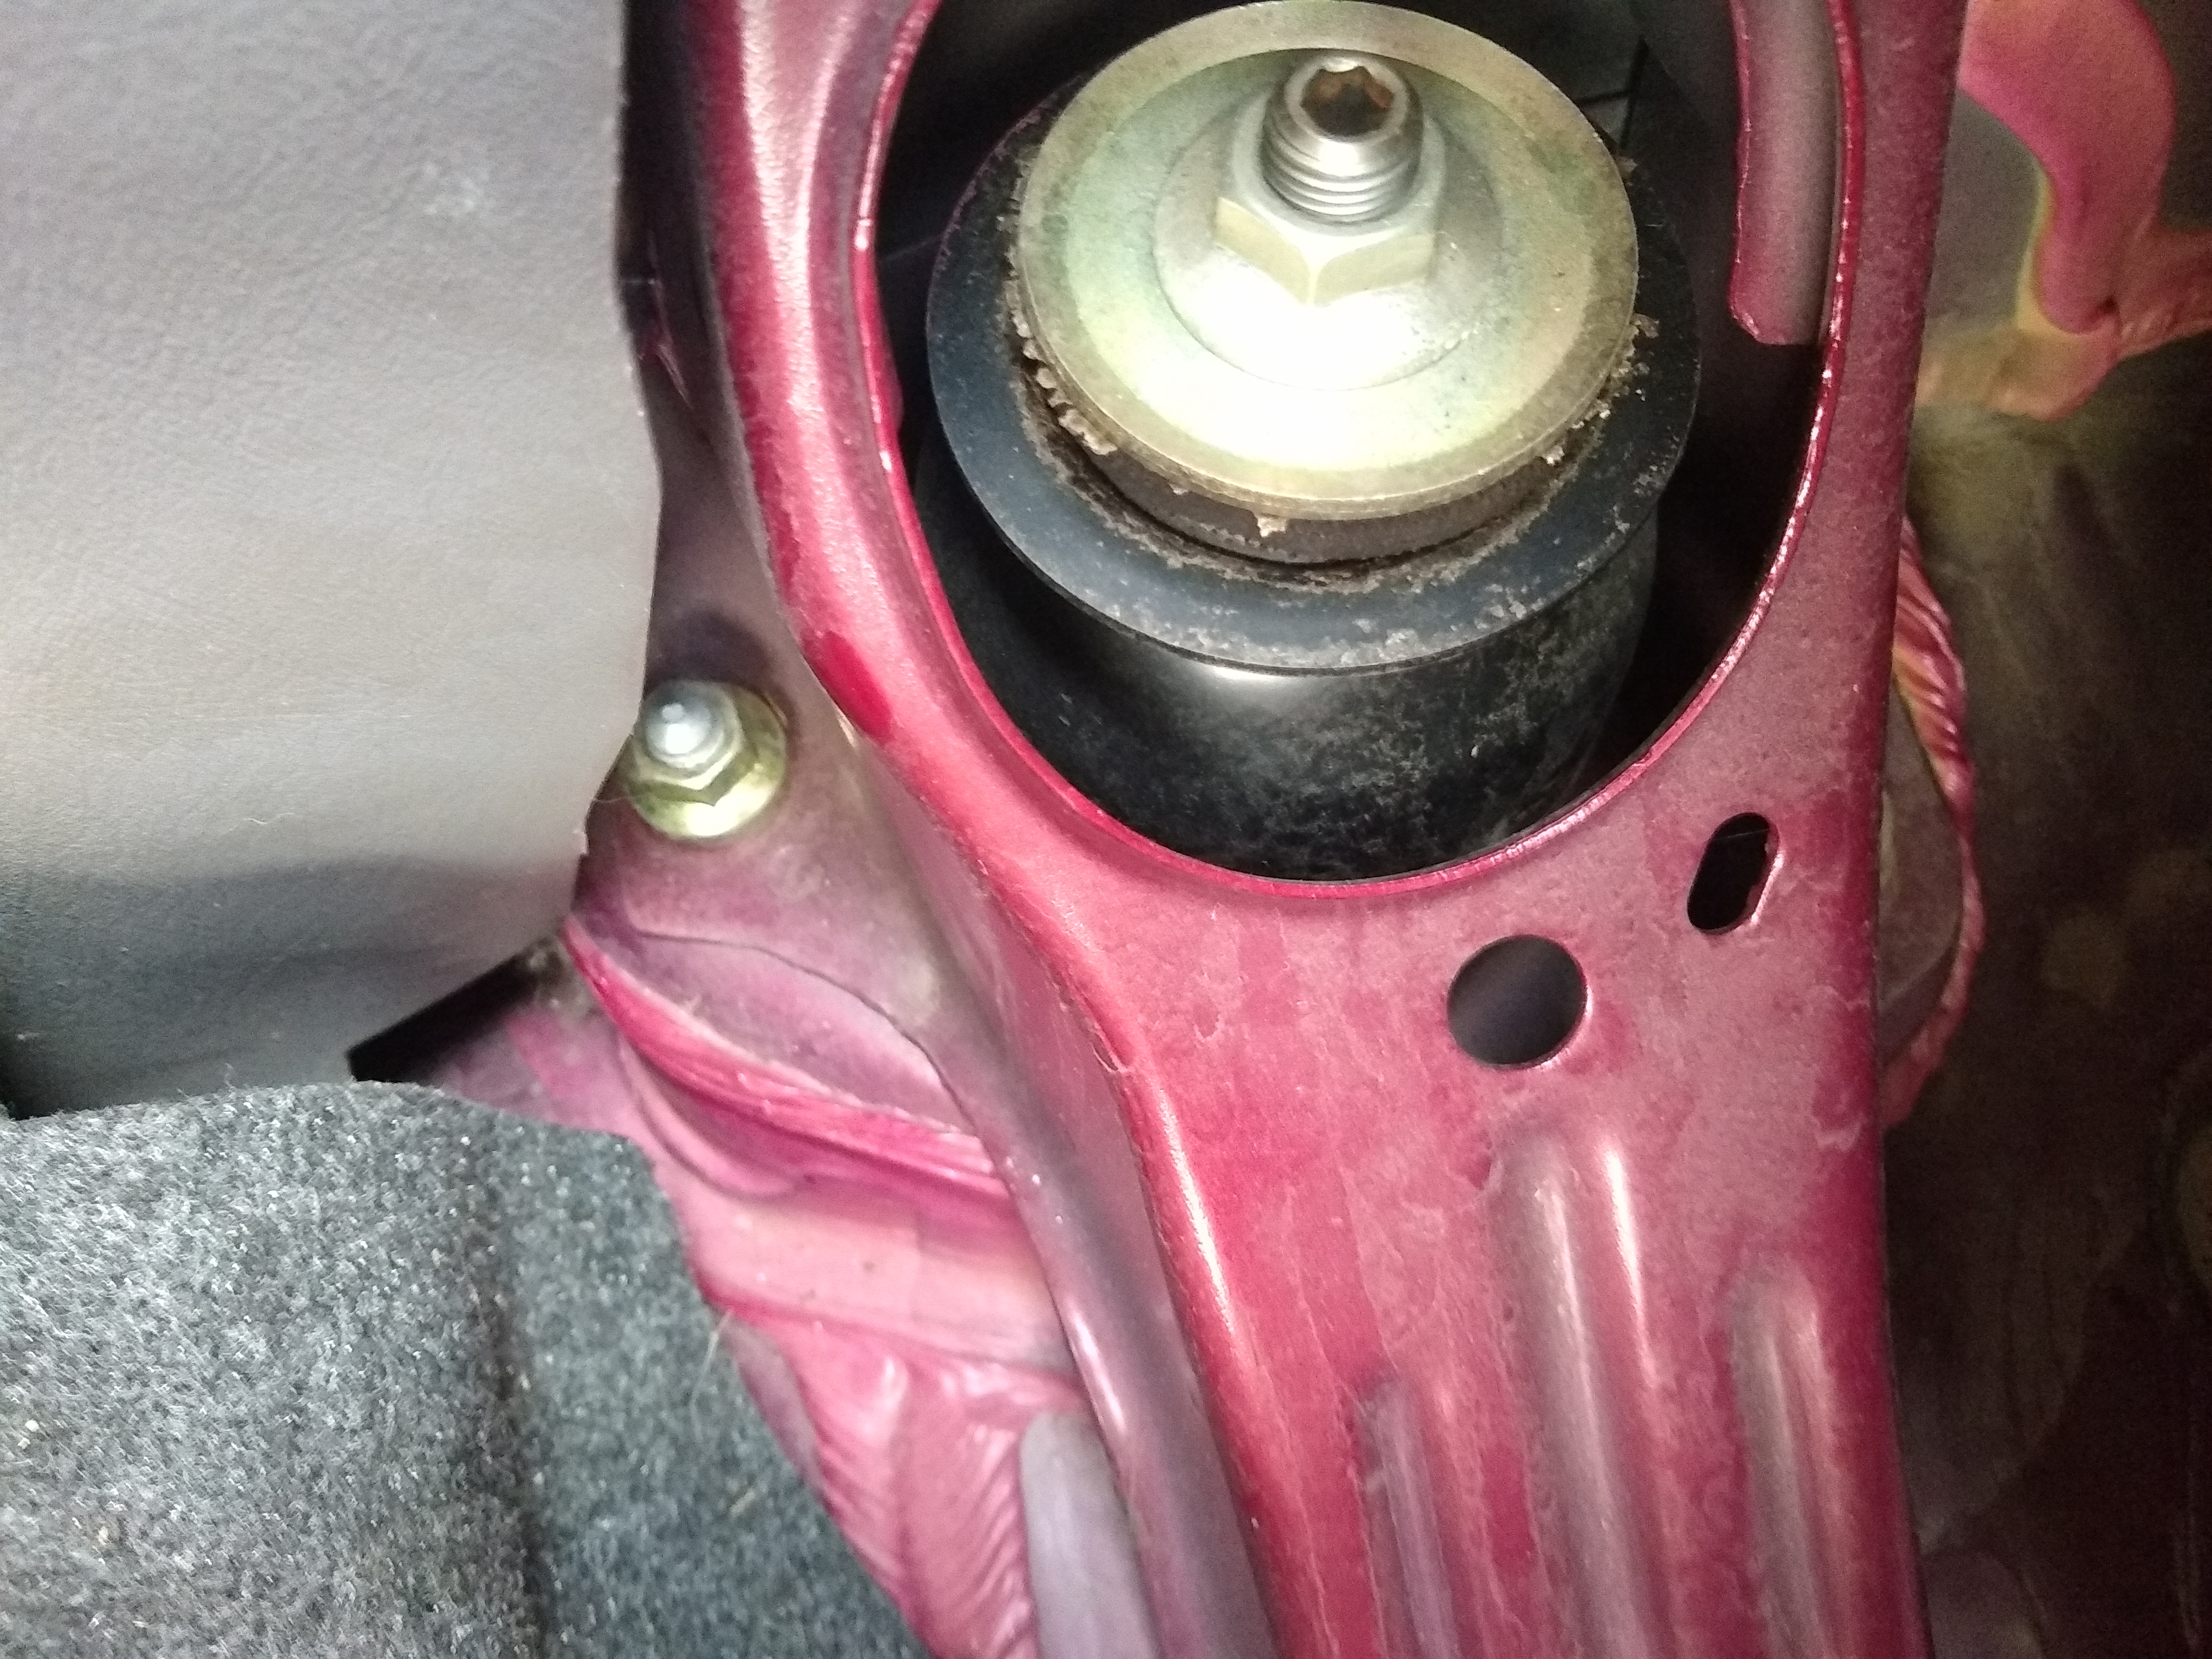
Use a pry bar to slide the base of the strut off
Remove the last bolt from the top of the strut, this bolt is accessed from the
outside of the car.
When the last bolt is removed the strut will drop down
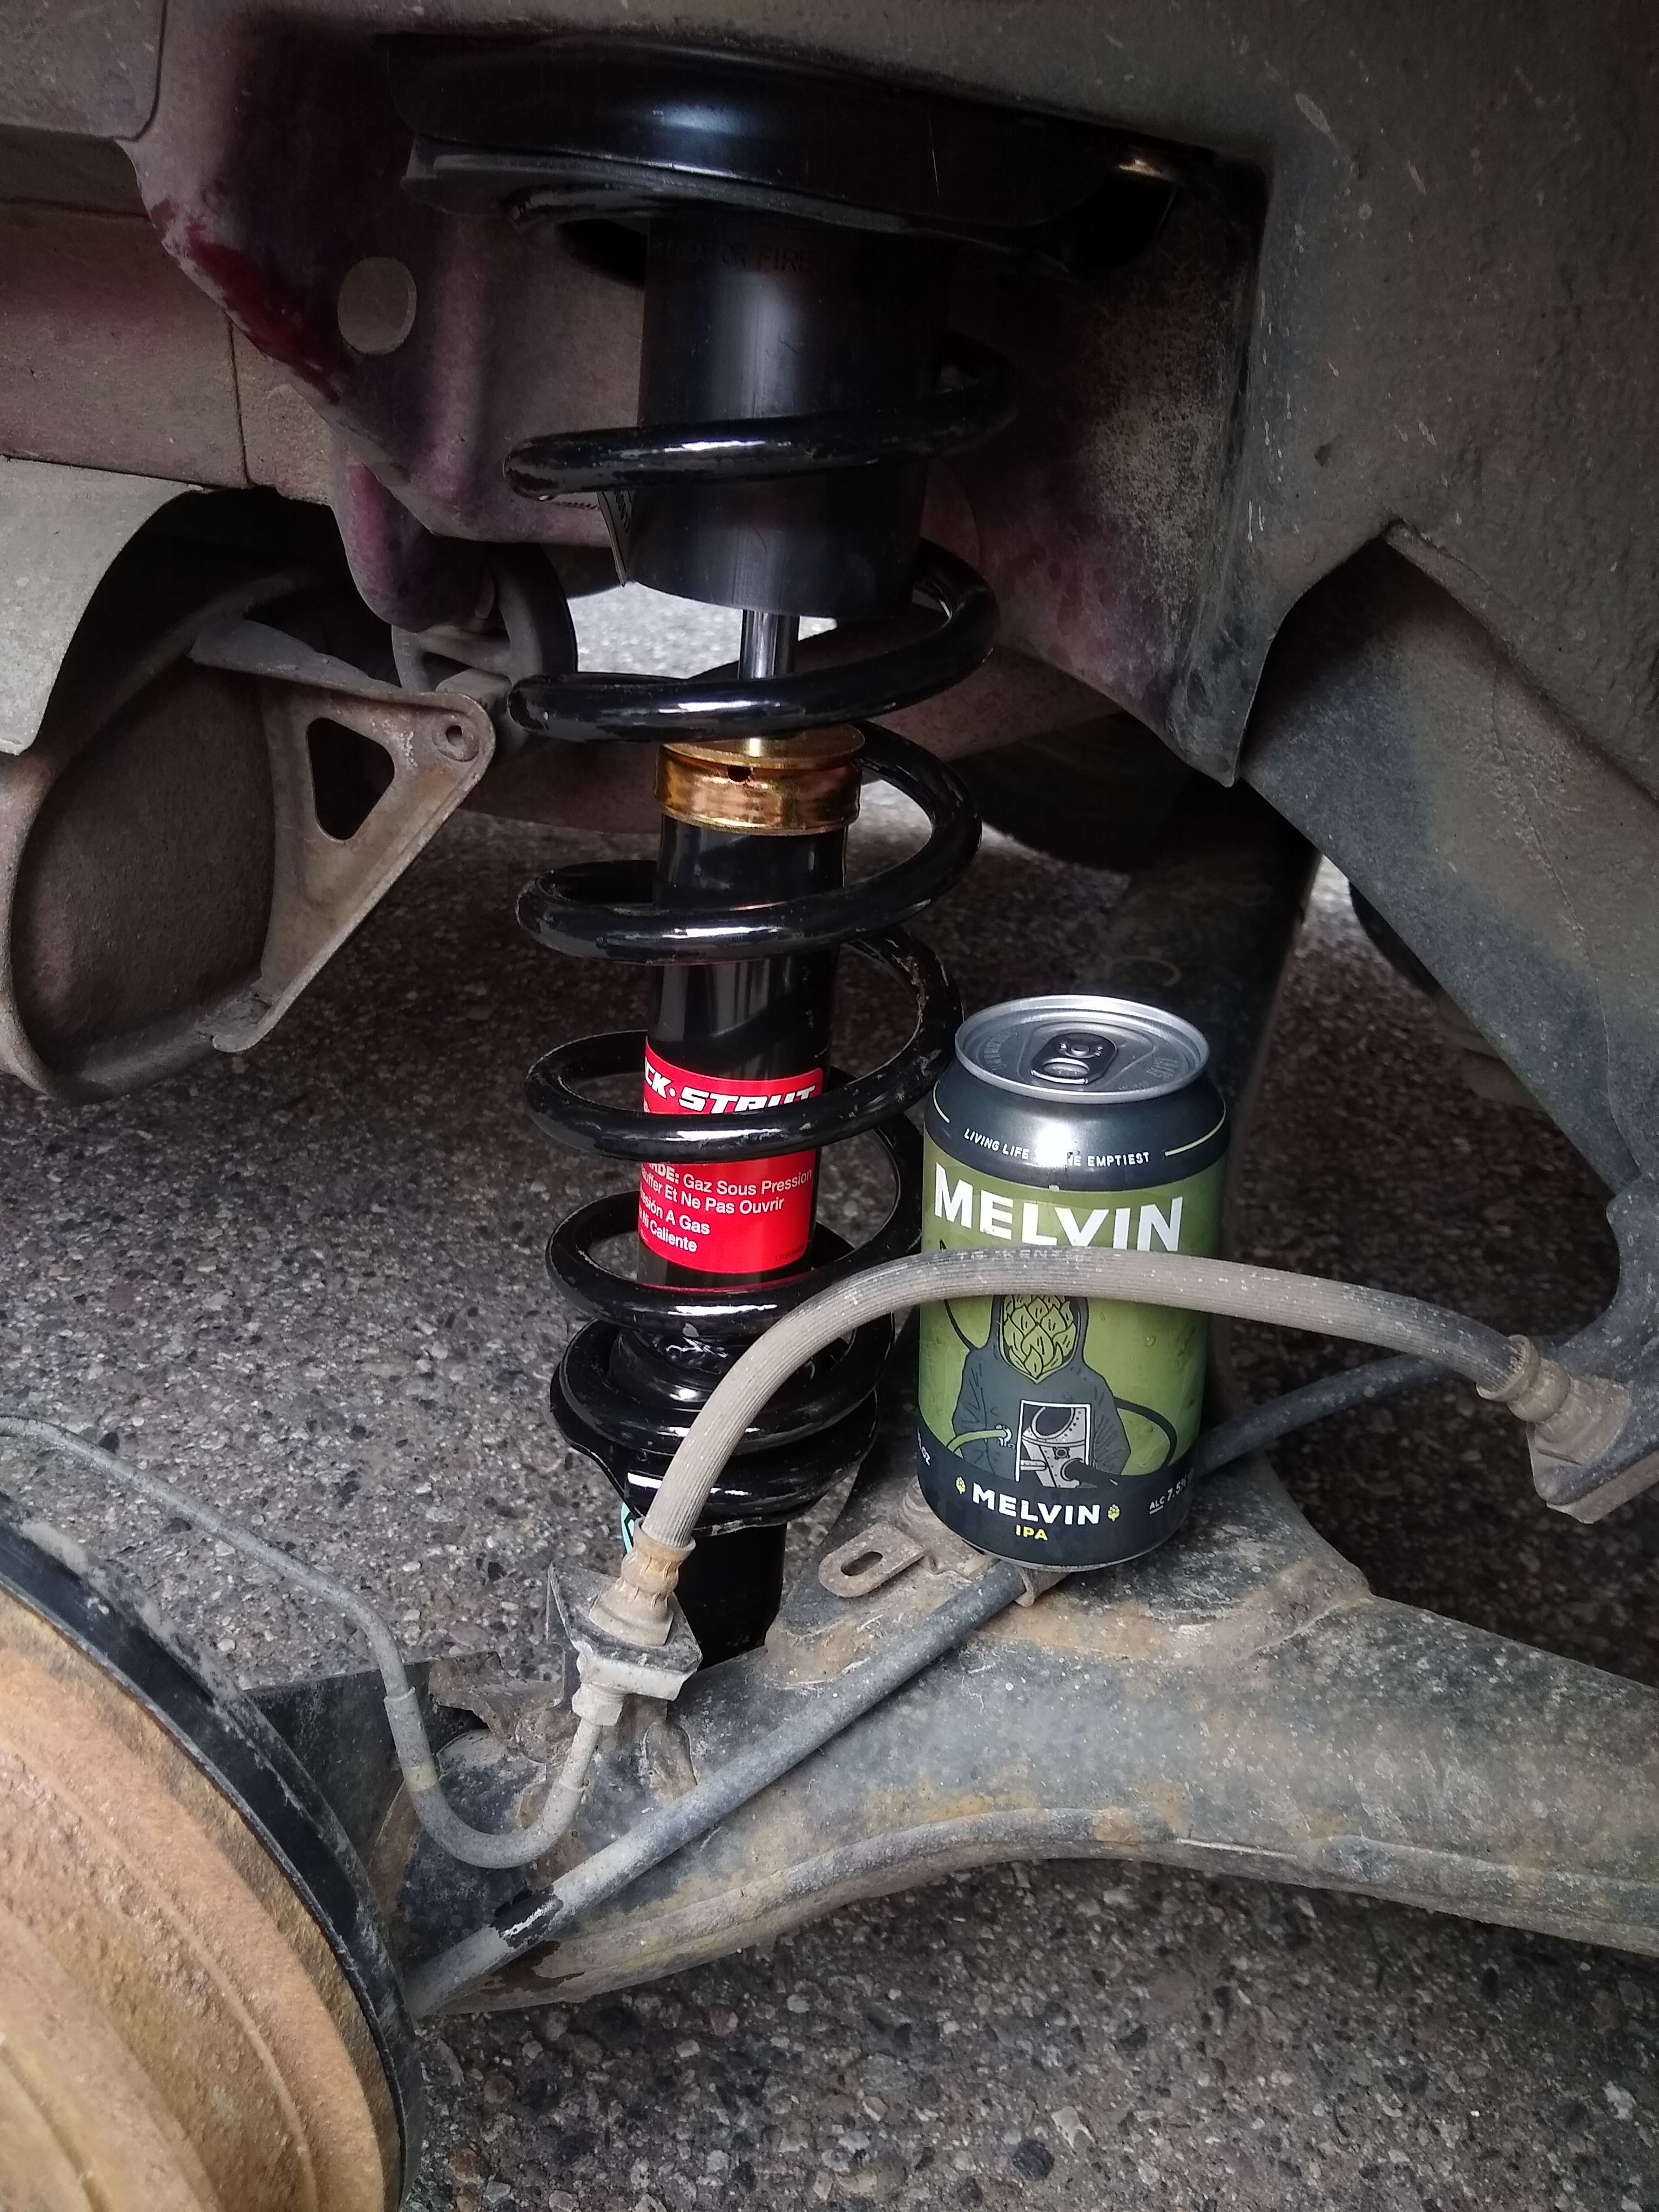
Now we can put the new strut in. It seemed easiest to get the top of the strut
loosely attached and then deal with getting the base of the strut settled on the
bottom.
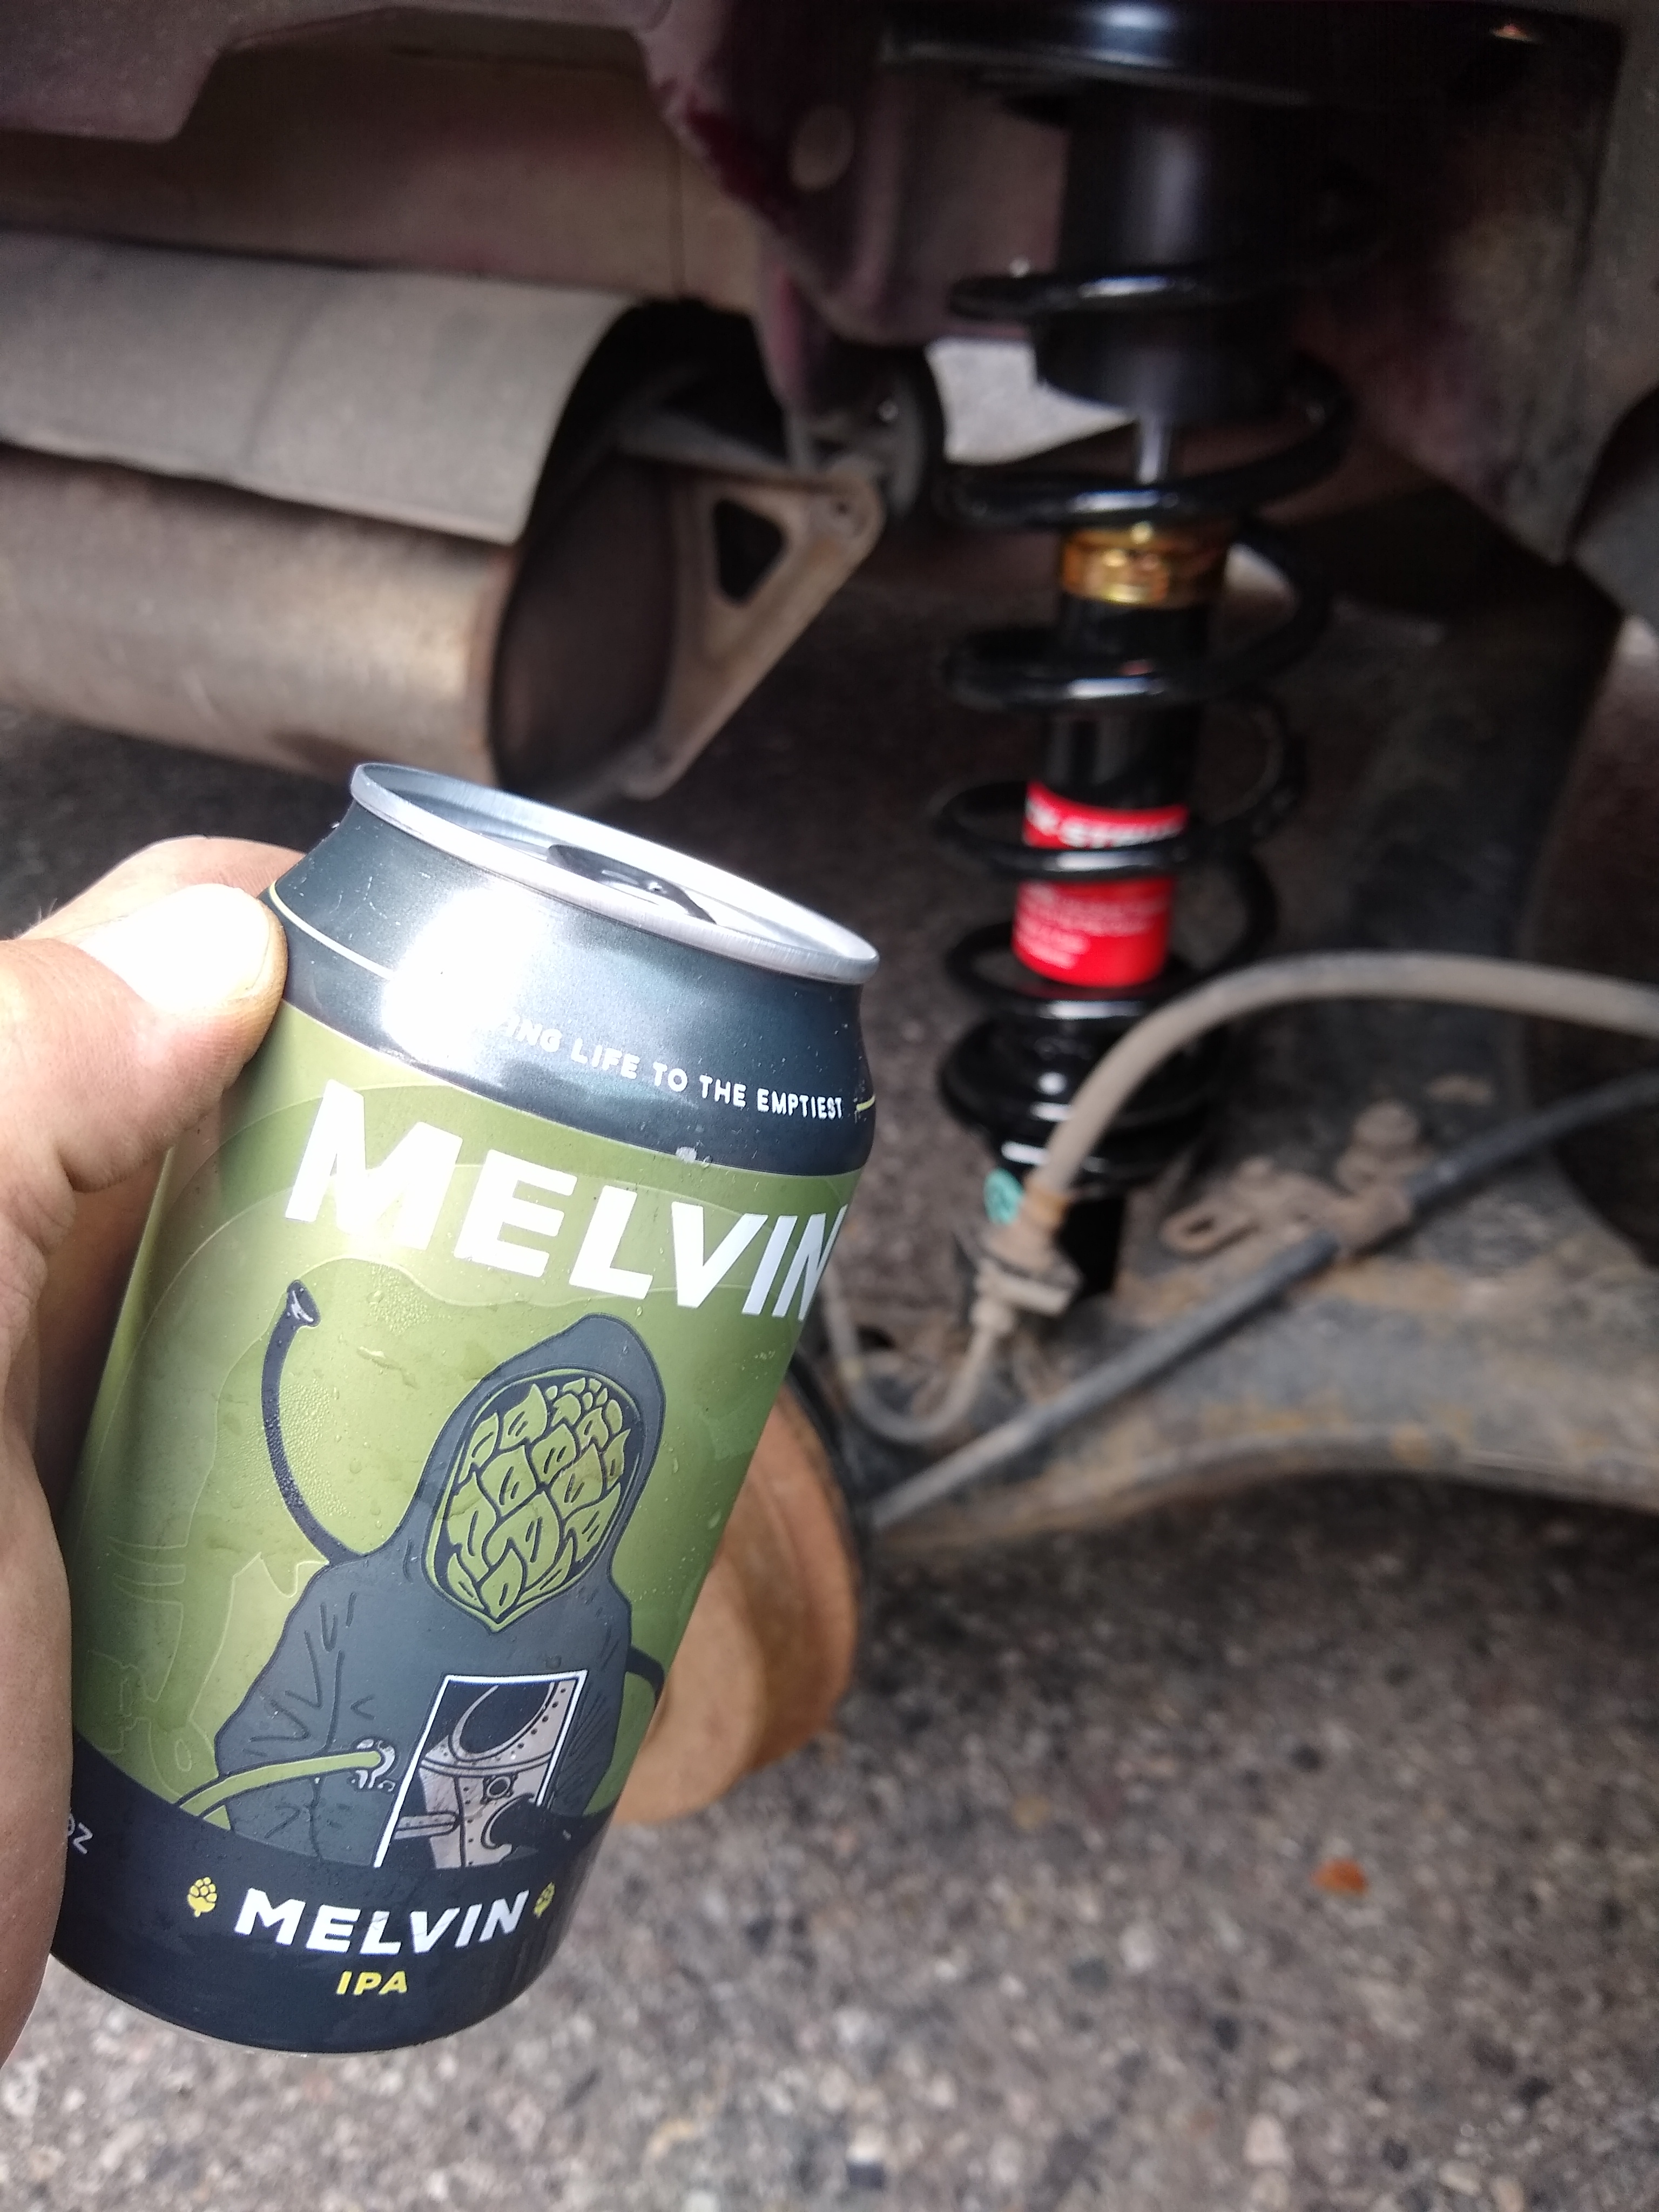
With the first strut in place this seemed like a good time for a beer break
The front
I didn't take many photos of the process in the front but it is essentially the same. Remove the bolts holding the strut, as well as the swaybar and brake cable that are attached to the strut. It is nice to have an extra pair of hands on the front to help lift the brake rotor and get bolts in place.
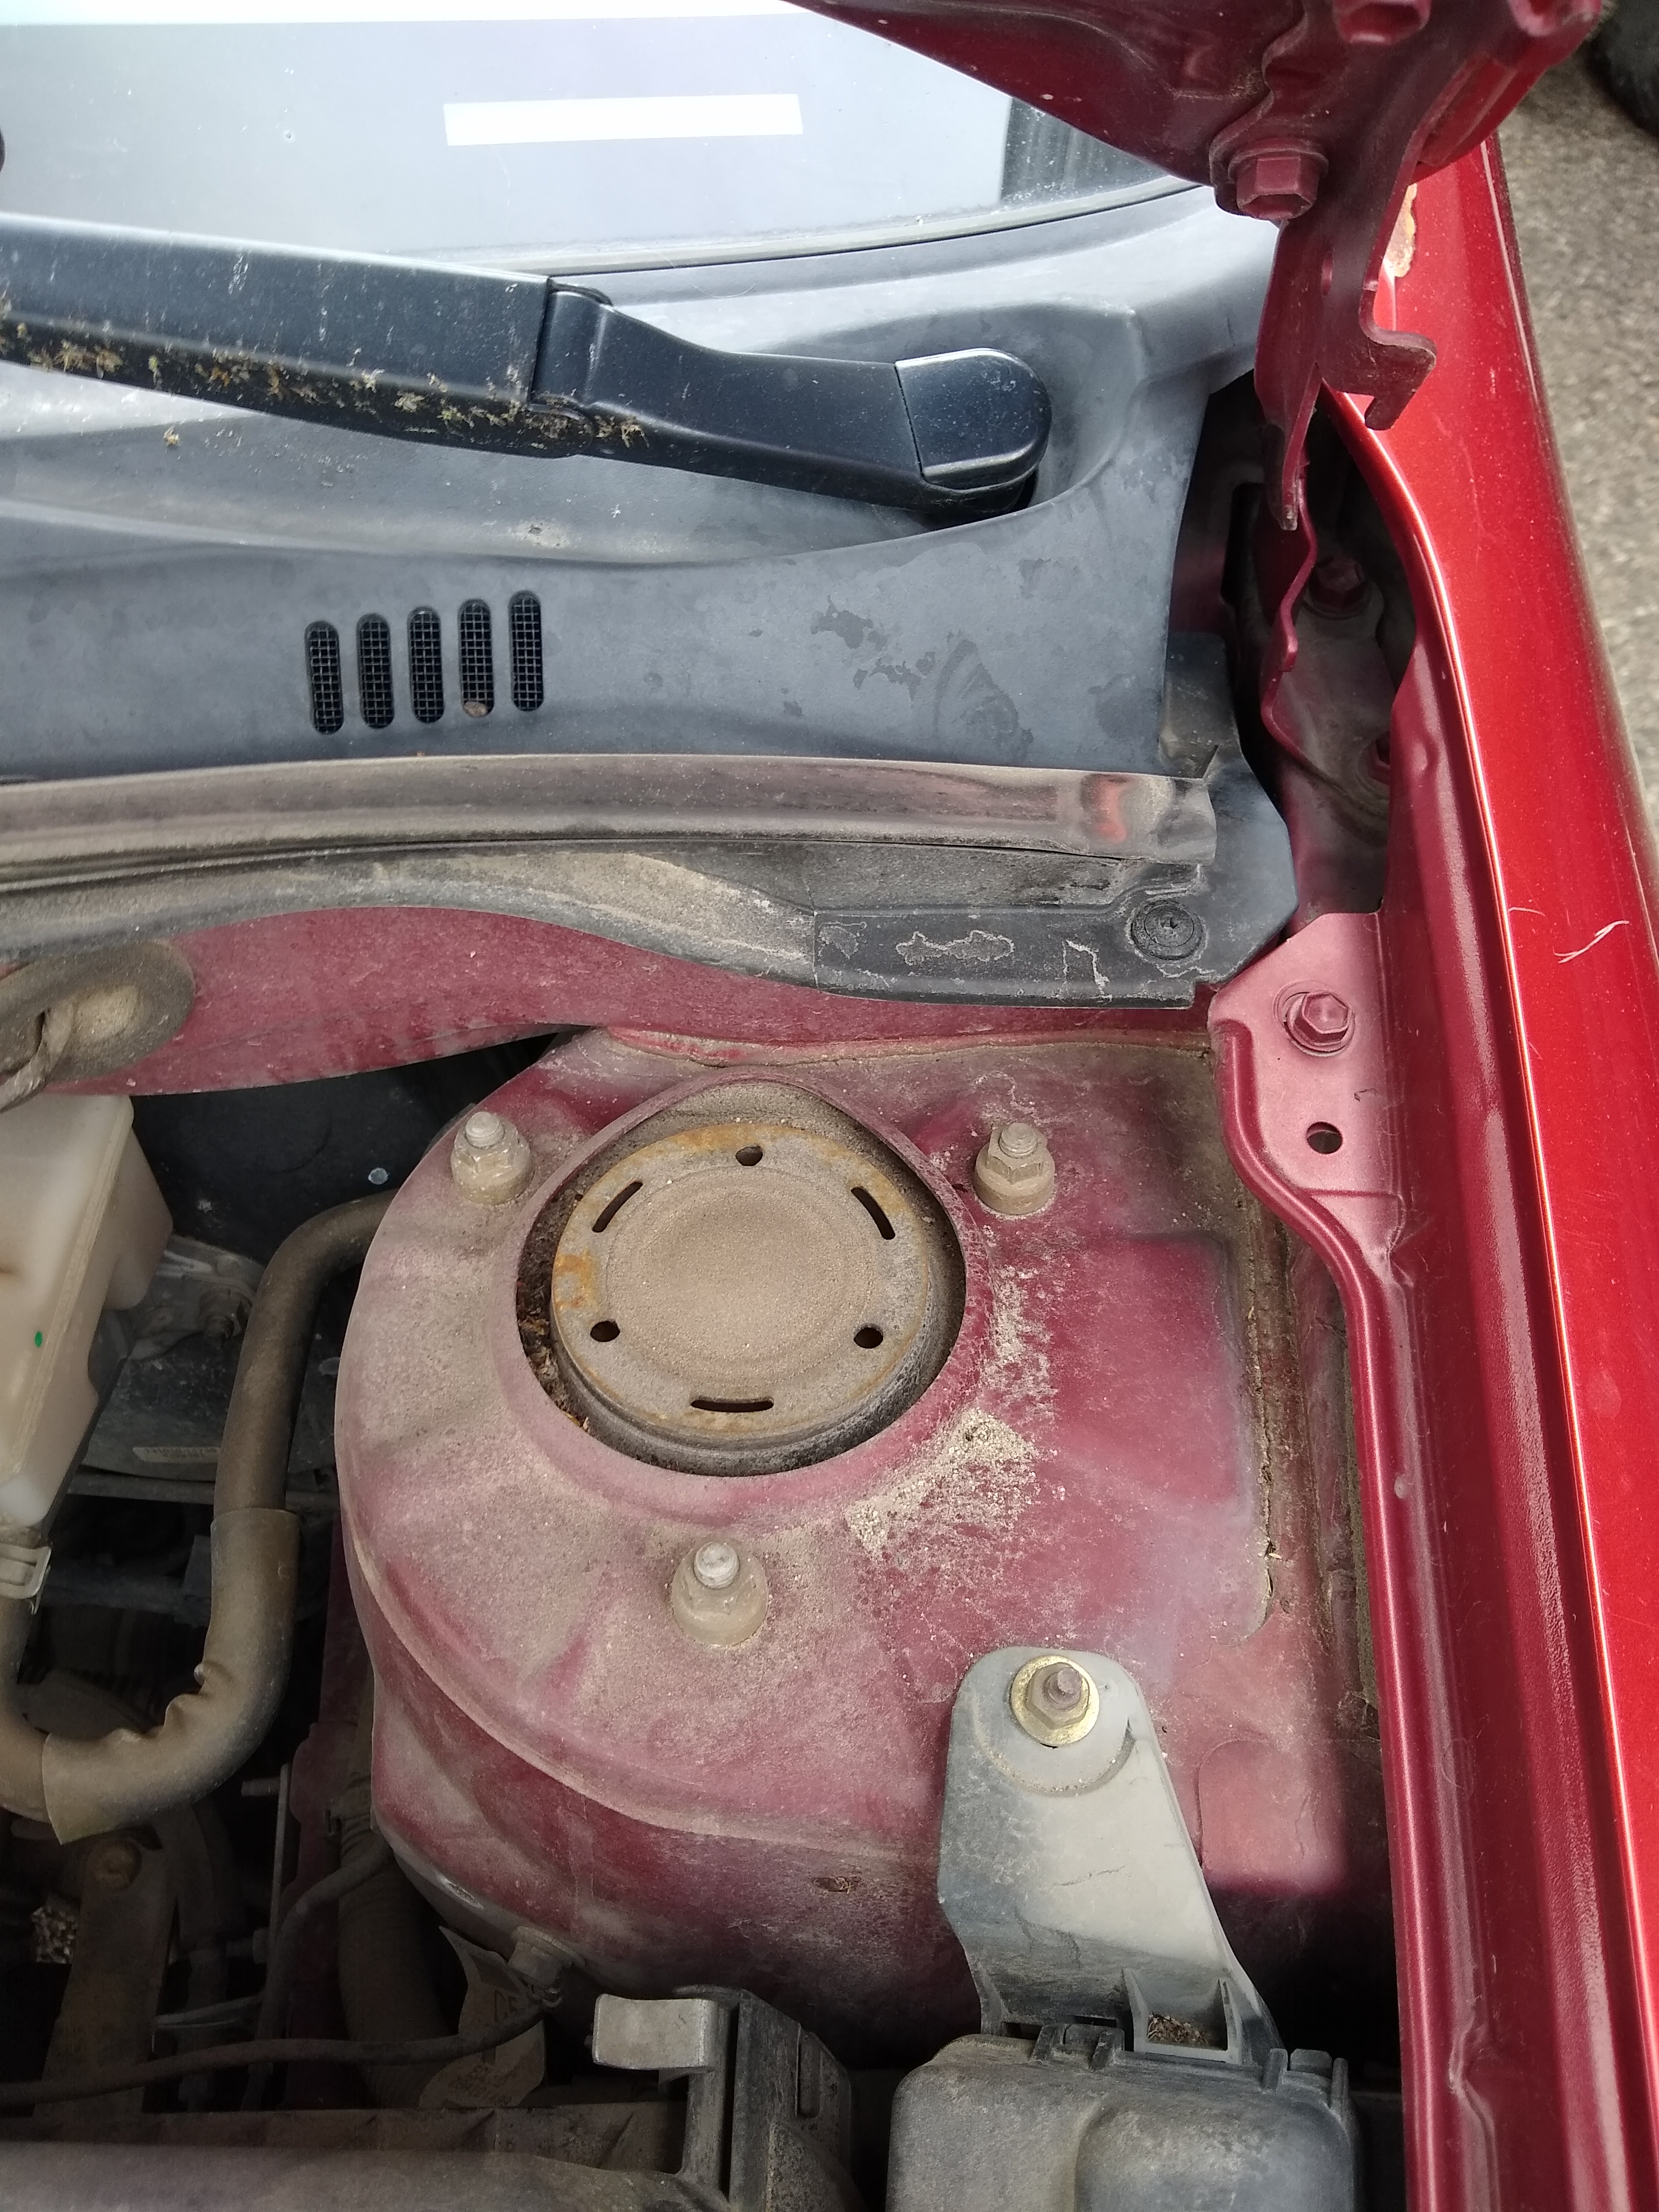
Remove these 3 nuts from each side within the engine compartment.
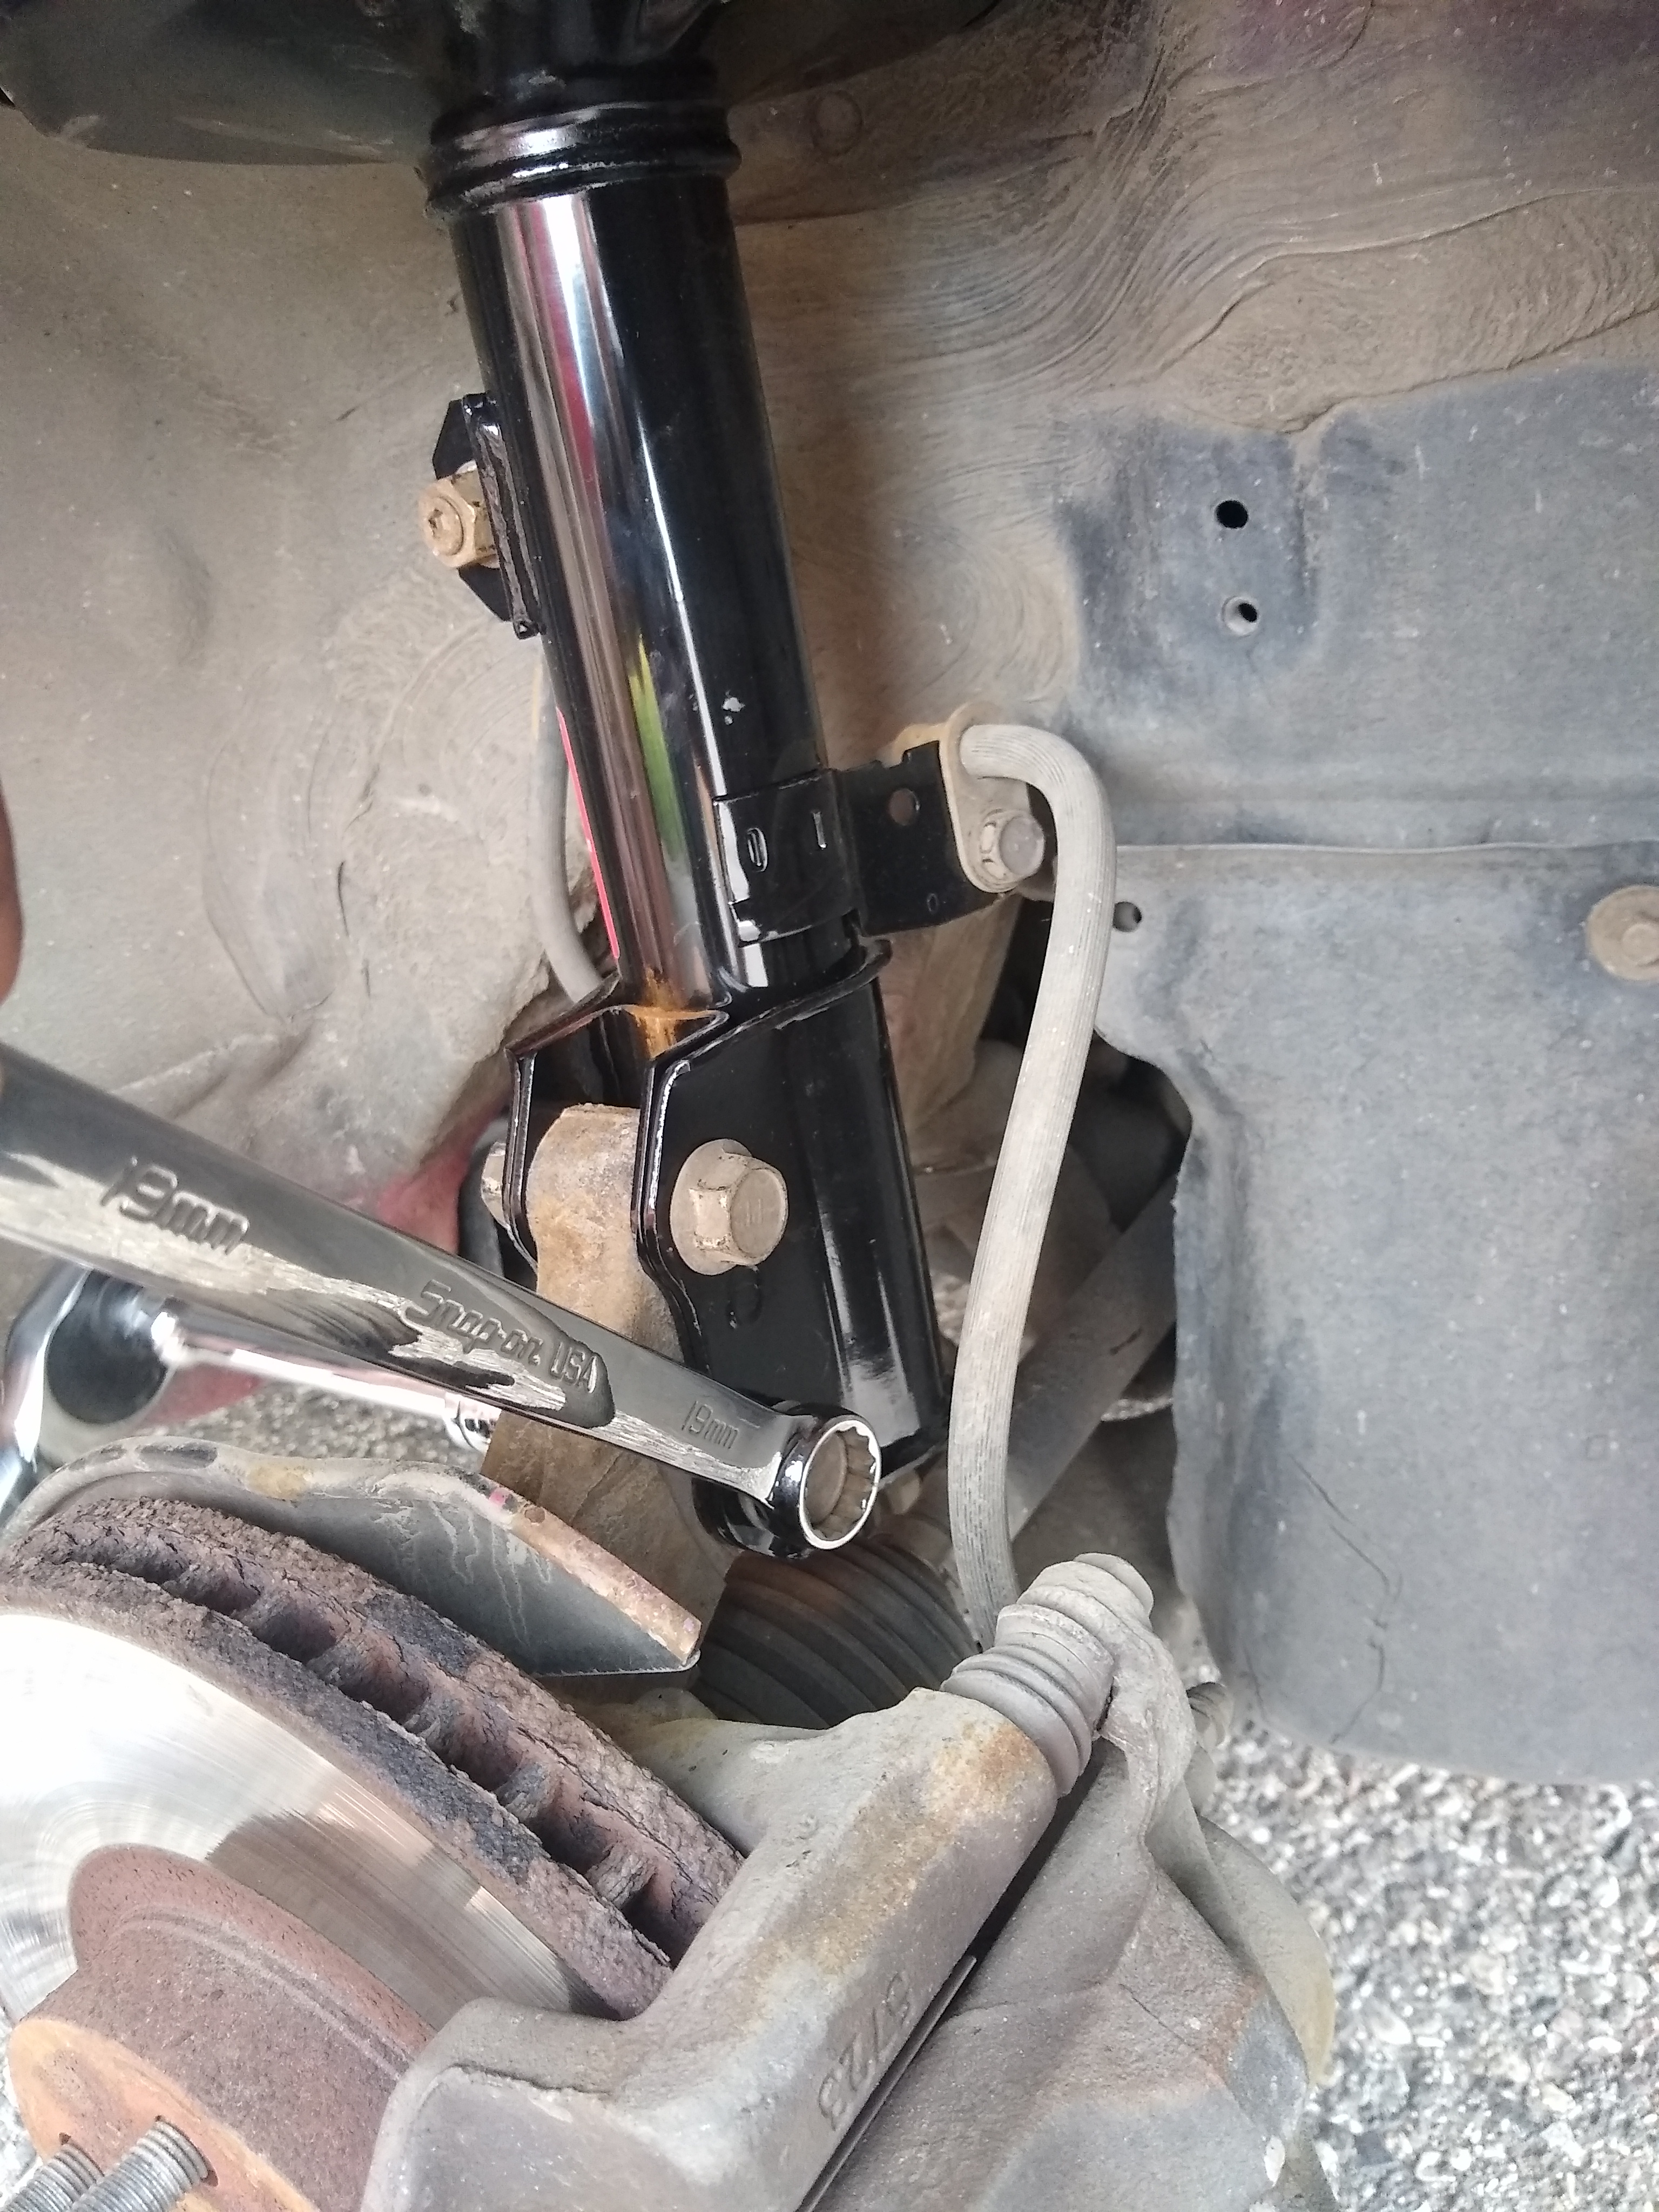
Just tightening things up in this last picture, would definitely do this job
again.
Note: When re-attaching the swaybar you will need to use the 6 mm allen key to tighten once the nut is hand tight.