Create a navigation sidebar with flask
Posted on Wed 28 August 2019 in flask
Sometimes pages grow to a point that the need a little help in order to keep it intuitive for the user. I want to share one way that I have been able to keep pages organized and intuitive to the user by using a sidebar with Flask. No javascript involved.
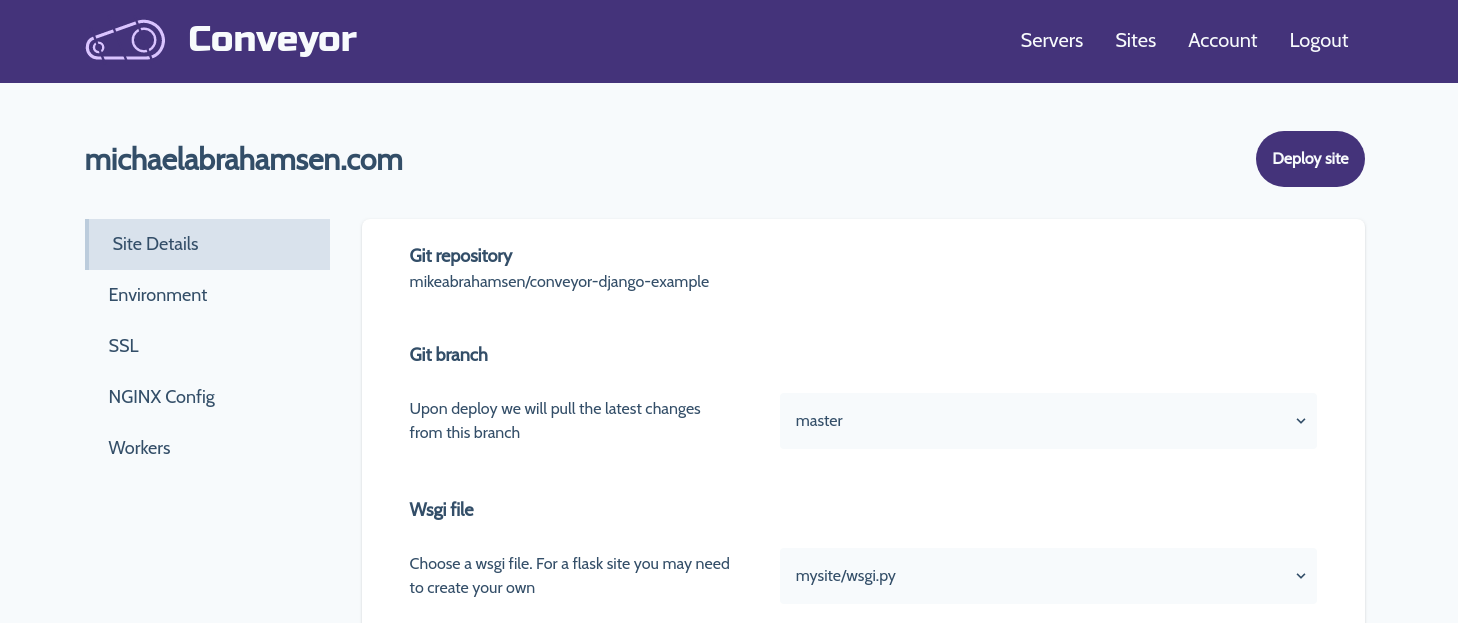
Here is what the finished product will look like
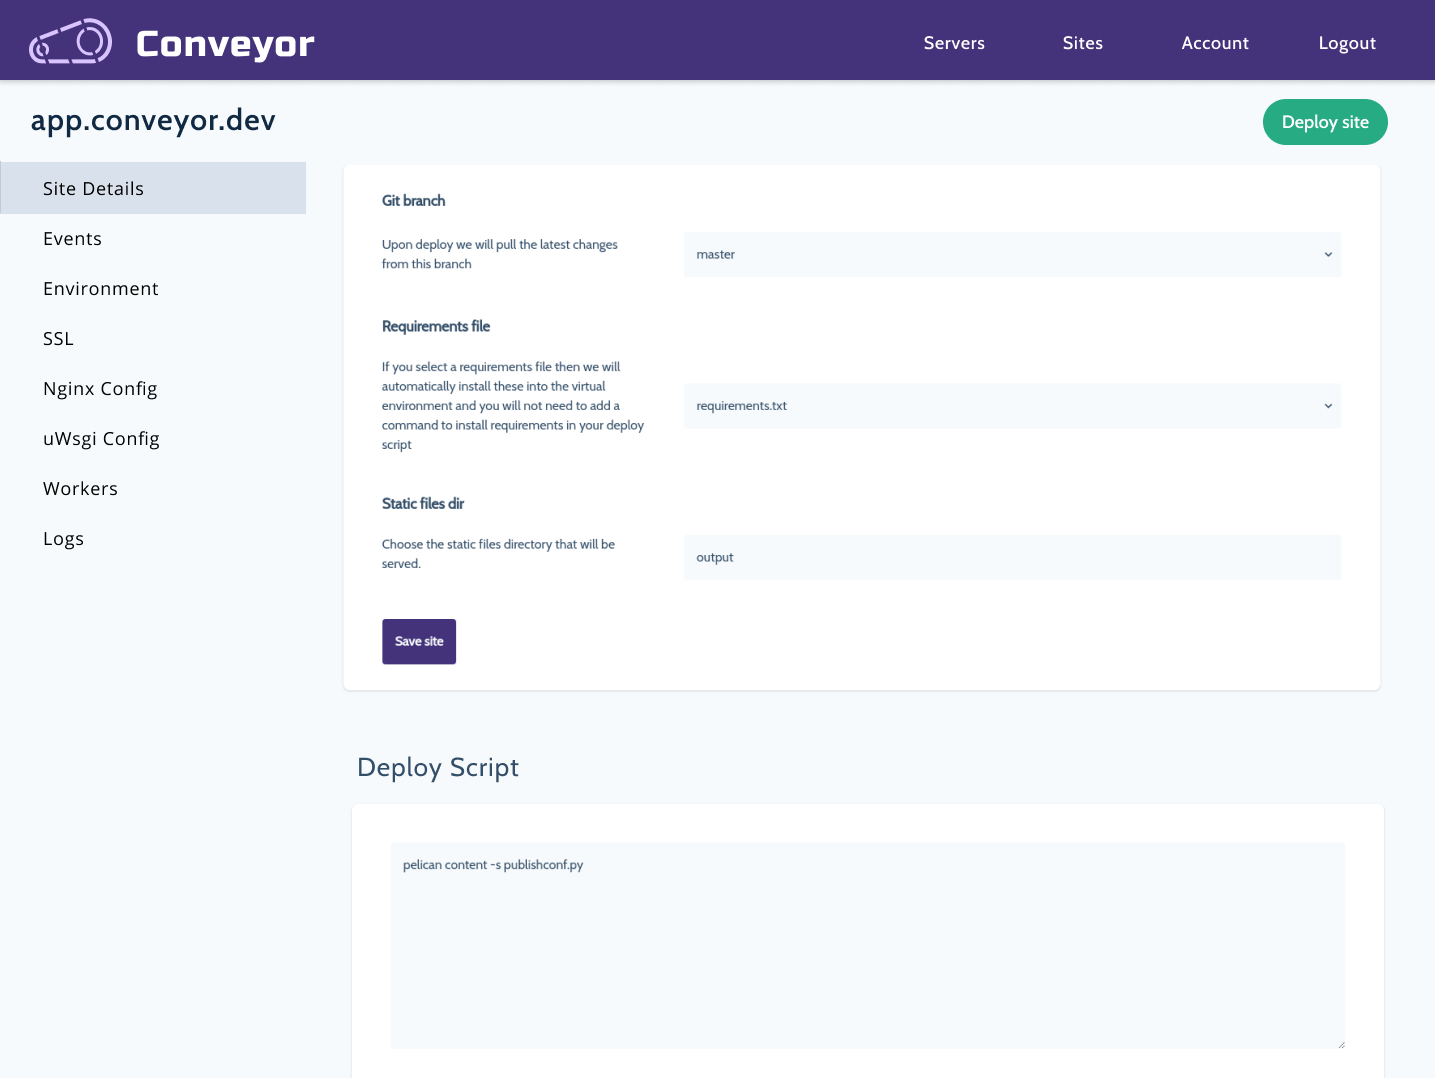
The example page that we will be updating in this post
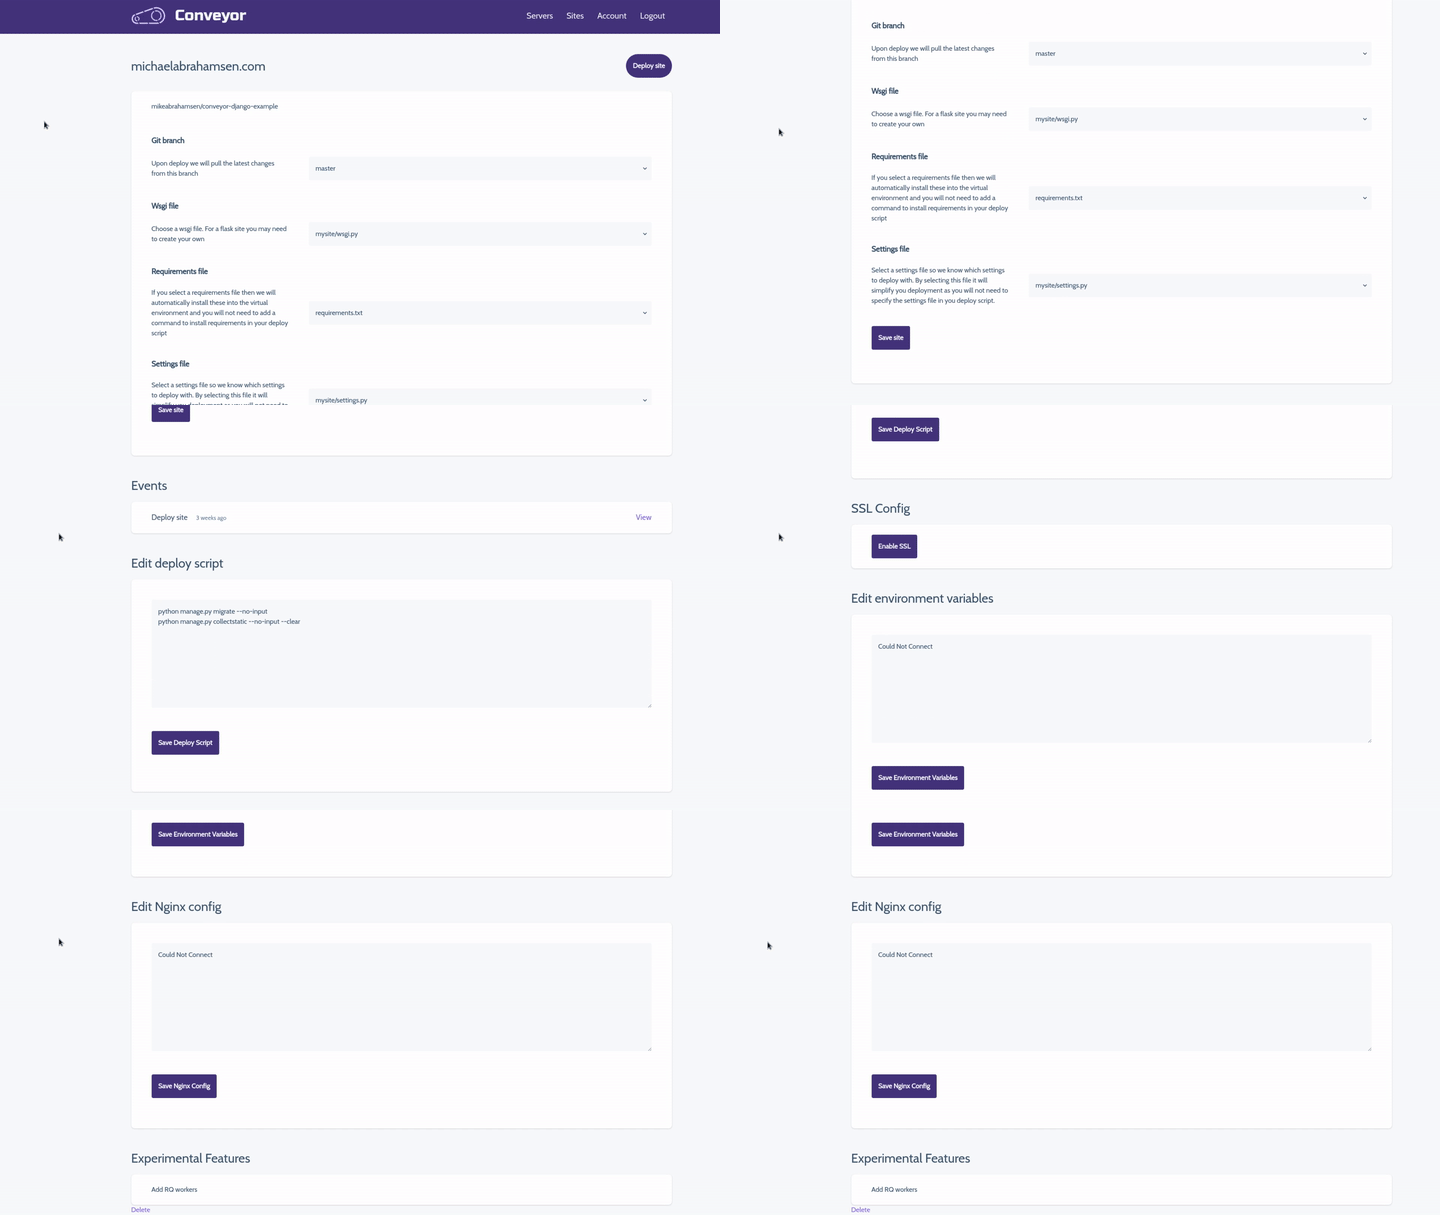
The Site Details page on conveyor.dev is a perfect candidate to add a sidebar to. The page has has grown to a point that it needs a little extra help organizing the content. Here is what the page currently looks like:

Creating the sidebar
There are many ways that you can go about creating a sidebar. The idea behind this method was to avoid replicating the sidebar code in each template and to not use any javascript to update the sidebar with the selected page.
Method 1: HTML/Jinja2
You can do this with pure HTML, the downside to this approach is that there is a lot of replicated code so making changes can be slightly more tedious.
<ul>
    <a href="{{ url_for("sites.details_page", site_id=site.id) }}">
        <li class="text-lg px-8 py-3 {% if selected == "Site Details" %}border-l-4 bg-gray-200{% endif %}"">Details</li>
    </a>
    <a href="{{ url_for("sites.events_page", site_id=site.id) }}">
        <li class="text-lg px-8 py-3 {% if selected == "Events" %}border-l-4 bg-gray-200{% endif %}"">Events</li>
    </a>
    <a href="{{ url_for("sites.environment_page", site_id=site.id) }}">
        <li class="text-lg px-8 py-3 {% if selected == "Environment" %}border-l-4 bg-gray-200{% endif %}"">Environment Variables</li>
    </a>
    <a href="{{ url_for("sites.nginx_page", site_id=site.id) }}">
        <li class="text-lg px-8 py-3 {% if selected == "NGINX Config" %}border-l-4 bg-gray-200{% endif %}"">NGINX Config</li>
    </a>
    <a href="{{ url_for("sites.ssl_page", site_id=site.id) }}">
        <li class="text-lg px-8 py-3 {% if selected == "SSL" %}border-l-4 bg-gray-200{% endif %}"">SSL Config</li>
    </a>
    <a href="{{ url_for("sites.workers_page", site_id=site.id) }}">
        <li class="text-lg px-8 py-3 {% if selected == "Workers" %}border-l-4 bg-gray-200{% endif %}"">Workers</li>
    </a>
</ul>
Method 2: Using a macro
You can also use a macro that will take a list of pages and generate the HTML for the navigation menu. This is a bit overkill when you can get away with creating the navigation menu completely in HTML. However, this makes updating the HTML in the future a little easier because the HTML is generated by the macro. This approach is a bit more complicated
The macro will accept a list of pages and the currently selected page:
# app/templates/macros.html

{% macro build_site_navigation(pages, selected) %}
<div class="w-1/4 mr-8">
    <ul>
        {% for page in pages %}
        <a href="{{page.url}}">
            <li class="text-lg pl-6 py-3 {% if selected == page.name %}border-l-4 bg-gray-200{% endif %}">{{page.name}}</li>
        </a>
        {% endfor %}
    </ul>
</div>
{% endmacro %}
To use this macro in our template:
- import the macro into the template by inserting
{% import "macros.html" as macros %}at the top of the template file - add the following code where you would like to insert the sidebar:
{{macros.build_site_navigation(pages=pages, selected="Page Name")}}
You will need to pass in a list of pages to the template.
I created a function generate_page_list and then pass the resulting pages into the template.
The function is used so we can update the pages in a single location and avoid
code replication.
# app/routes.py

def generate_page_list(site_id):
    pages = [
        {"name": "Details", "url": url_for("sites.show", site_id=site_id)},
        {"name": "Events", "url": url_for("sites.events_page", site_id=site_id)},
        {"name": "Environment", "url": url_for("sites.environment_page", site_id=site_id)},
        {"name": "SSL", "url": url_for("sites.ssl_page", site_id=site_id)},
        {"name": "NGINX Config", "url": url_for("sites.nginx_config_page", site_id=site_id)},
        {"name": "Workers", "url": url_for("sites.workers_page", site_id=site_id)}
    ]
    return pages
The sidebar will now list all of our pages

Routes
Each page will have an individual route. When you render the template in each
route make sure to pass in the selected page if you are using HTML/Jinja2 or
@app.route('servers/<int:server_id>/sites/<int:site_id>', methods=['GET'])
@app.route('servers/<int:server_id>/sites/<int:site_id>/environment', methods=['GET'])
@app.route('servers/<int:server_id>/sites/<int:site_id>/ssl', methods=['GET'])
@app.route('servers/<int:server_id>/sites/<int:site_id>/nginx', methods=['GET'])
@app.route('servers/<int:server_id>/sites/<int:site_id>/workers', methods=['GET'])
Create a template file for each page
app/templates/site/details.html
app/templates/site/environment.html
app/templates/site/ssl.html
app/templates/site/nginx.html
app/templates/site/workers.html
So there is an example of how you can create a sidebar navigation in a Flask application. The application shown as an example can help you manage and deploy your Flask applications with ease! Use this Conveyor.dev promotion link to deploy your first application free.
