Pelican static site on Netlify
Posted on Tue 14 May 2019 in python
Setup the project
$ mkdir pelican-netlify-cms && cd $_

# create and activate a virtual environment for your project, for example:
$ python -m venv venv
$ source venv/bin/activate
Create a requirements.txt file. This is important as Netlify will look for this file to determine dependencies. In the file:
pelican
markdown
Install the requirements and run the pelican-quickstart command, following the prompts:
$ pip install -r requirements.txt
$ pelican-quickstart
Now assuming you have created an empty repo on Github, we will add this project to that repo.
$ git init
$ git add .
$ git commit -m 'initial commit'
$ git remote add origin Your_Own_Git_Repository_URL
Now that the git repo is connected create the first post
For example, content/2019-04-20-sample.md
---
Title: My First Post
Date: 2019-04-20 05:30
Category: example
---

Post content
Push the post to Github
$ git add .
$ git push
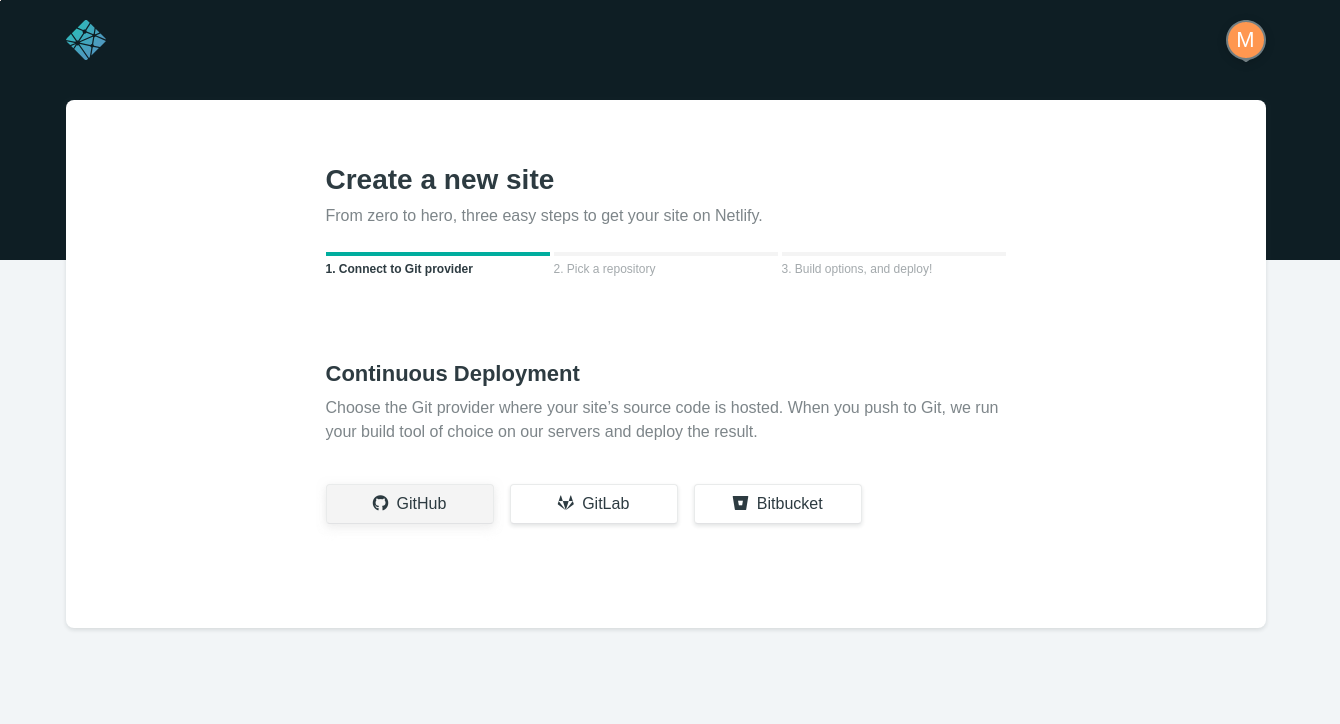
On Netlify
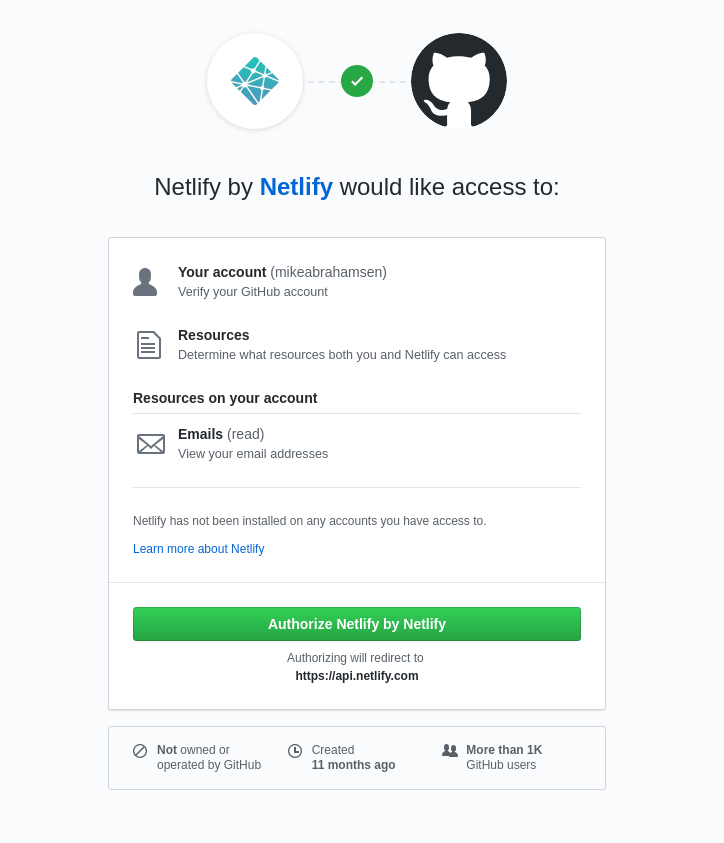
Connect to Github
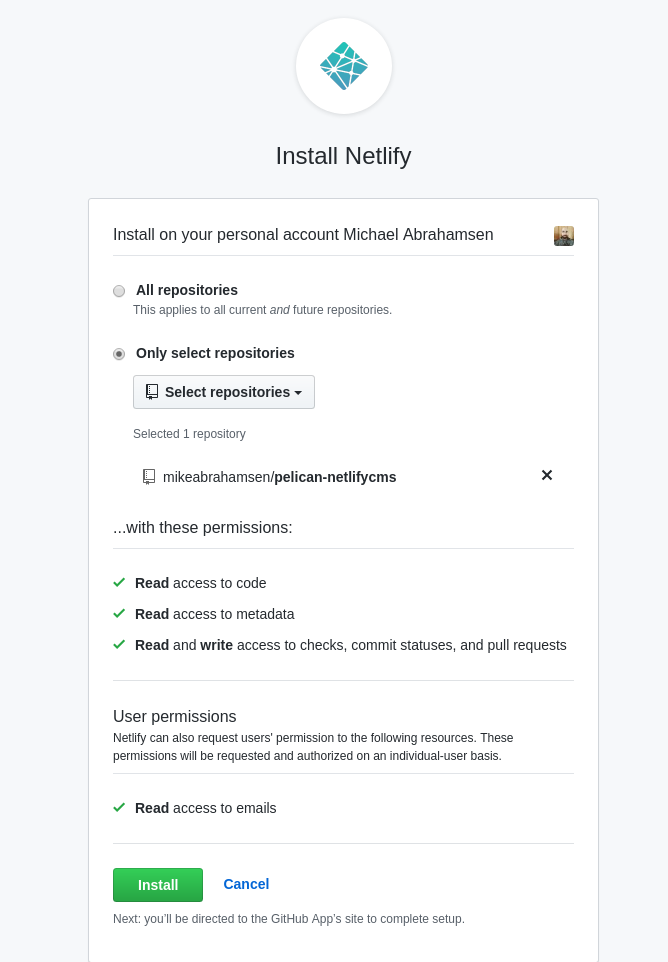
Choose the repositories that Netlify will have access to.
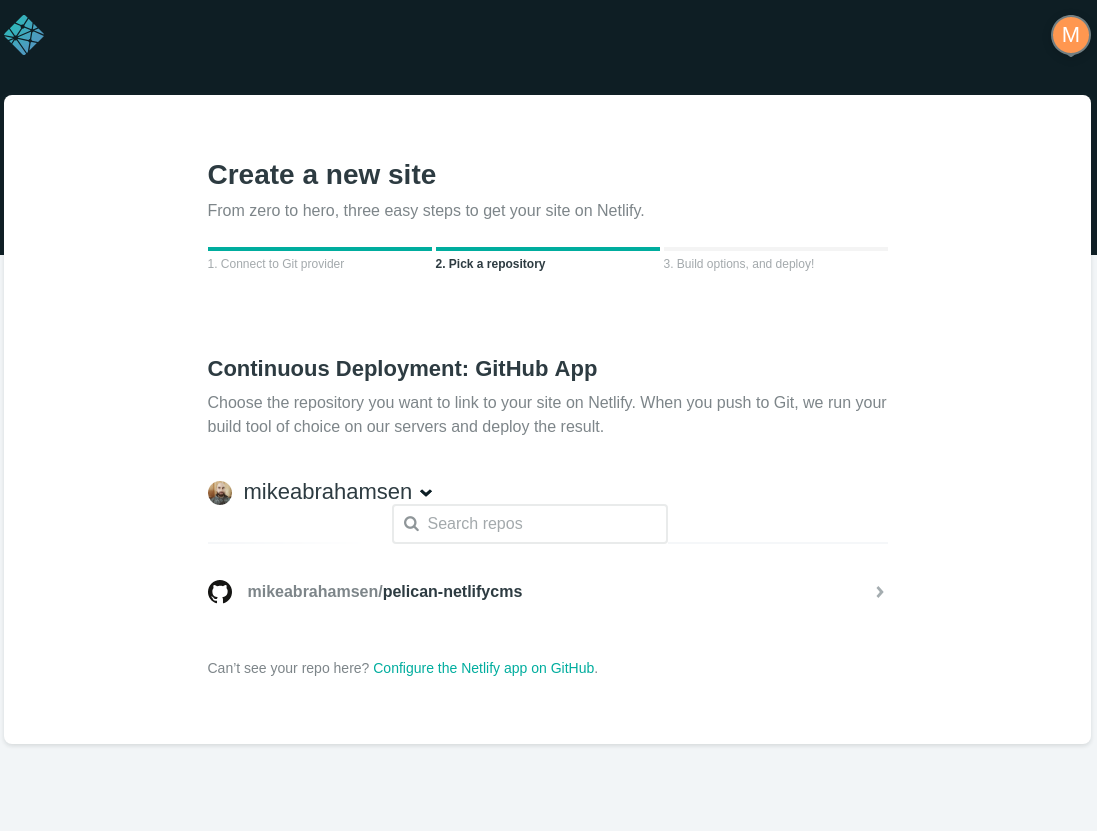
Now choose the repository to publish.
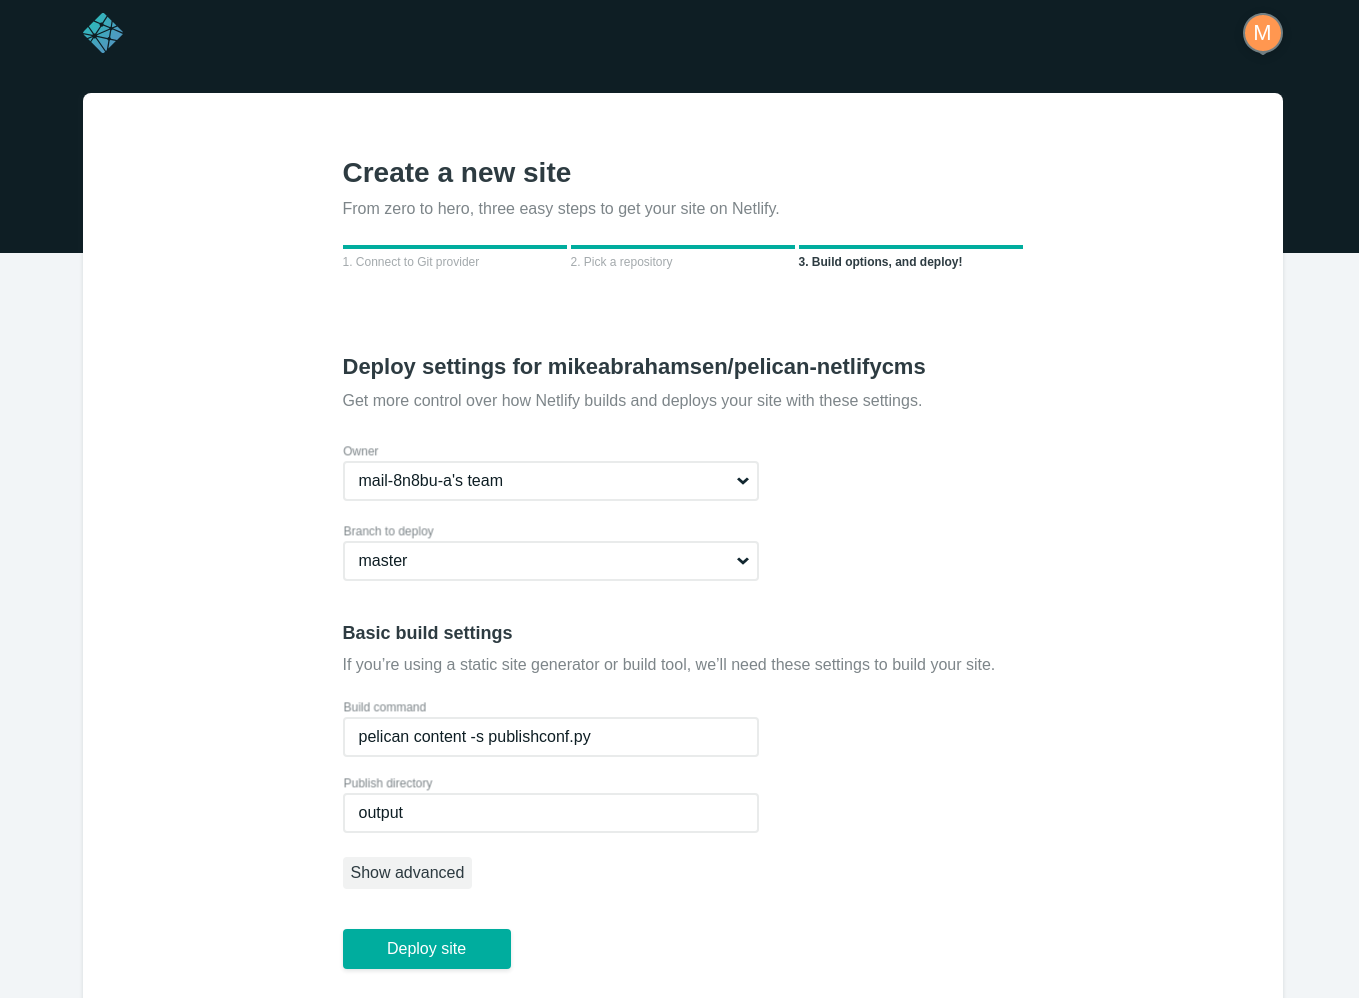
Add the build command and output folder.
Build command
pelican content -s publishconf.py
Publish directory
output